Banner is a small graphic ad block that can come in different formats – static, animated, or video. It usually contains a hyperlink to the advertiser’s website, which can be visited by clicking on the image.
Ad Placement Creation
Before creating an ad placement, you need to register as a webmaster. You can register on Affilight’s landing page by yourself or our manager can register you by request.
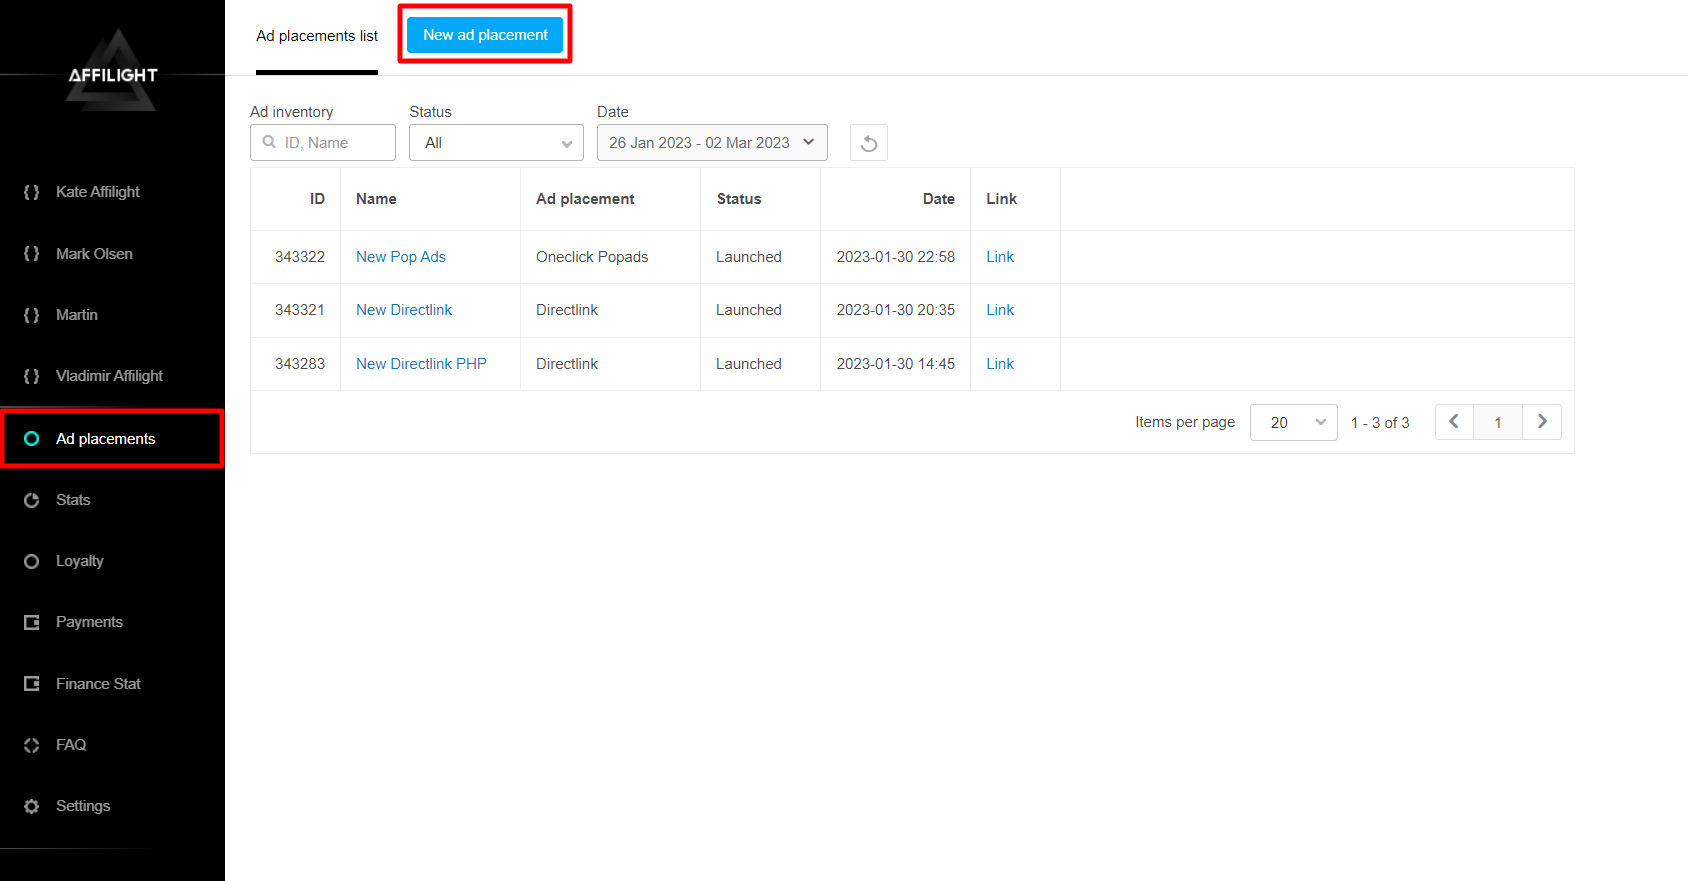
To create an ad placement, click the button New Ad Placement.
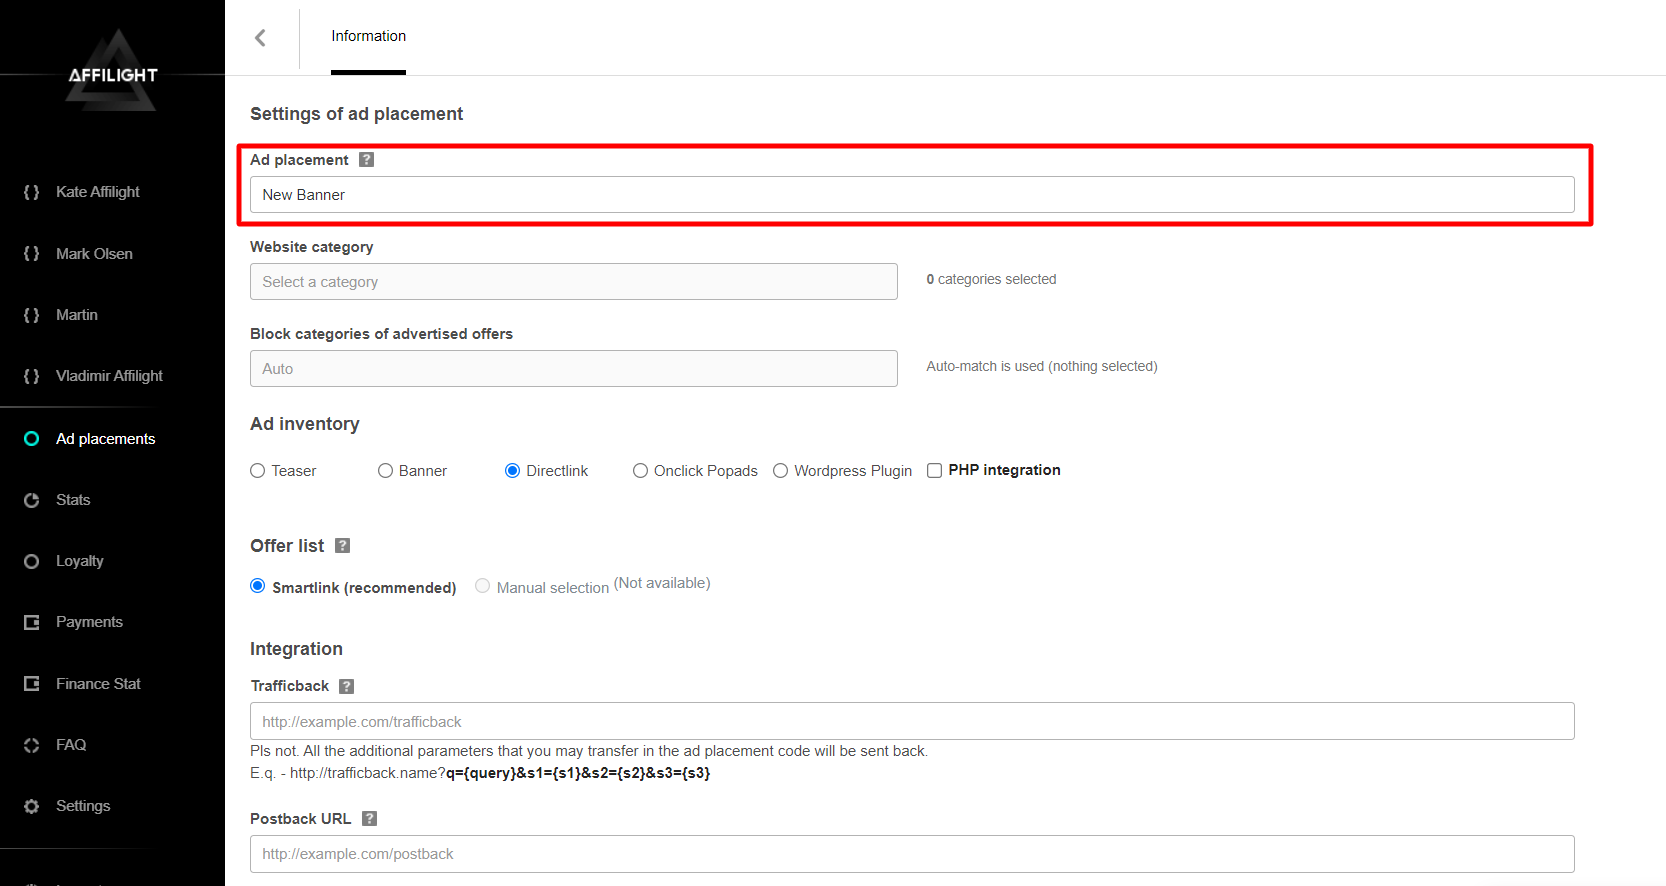
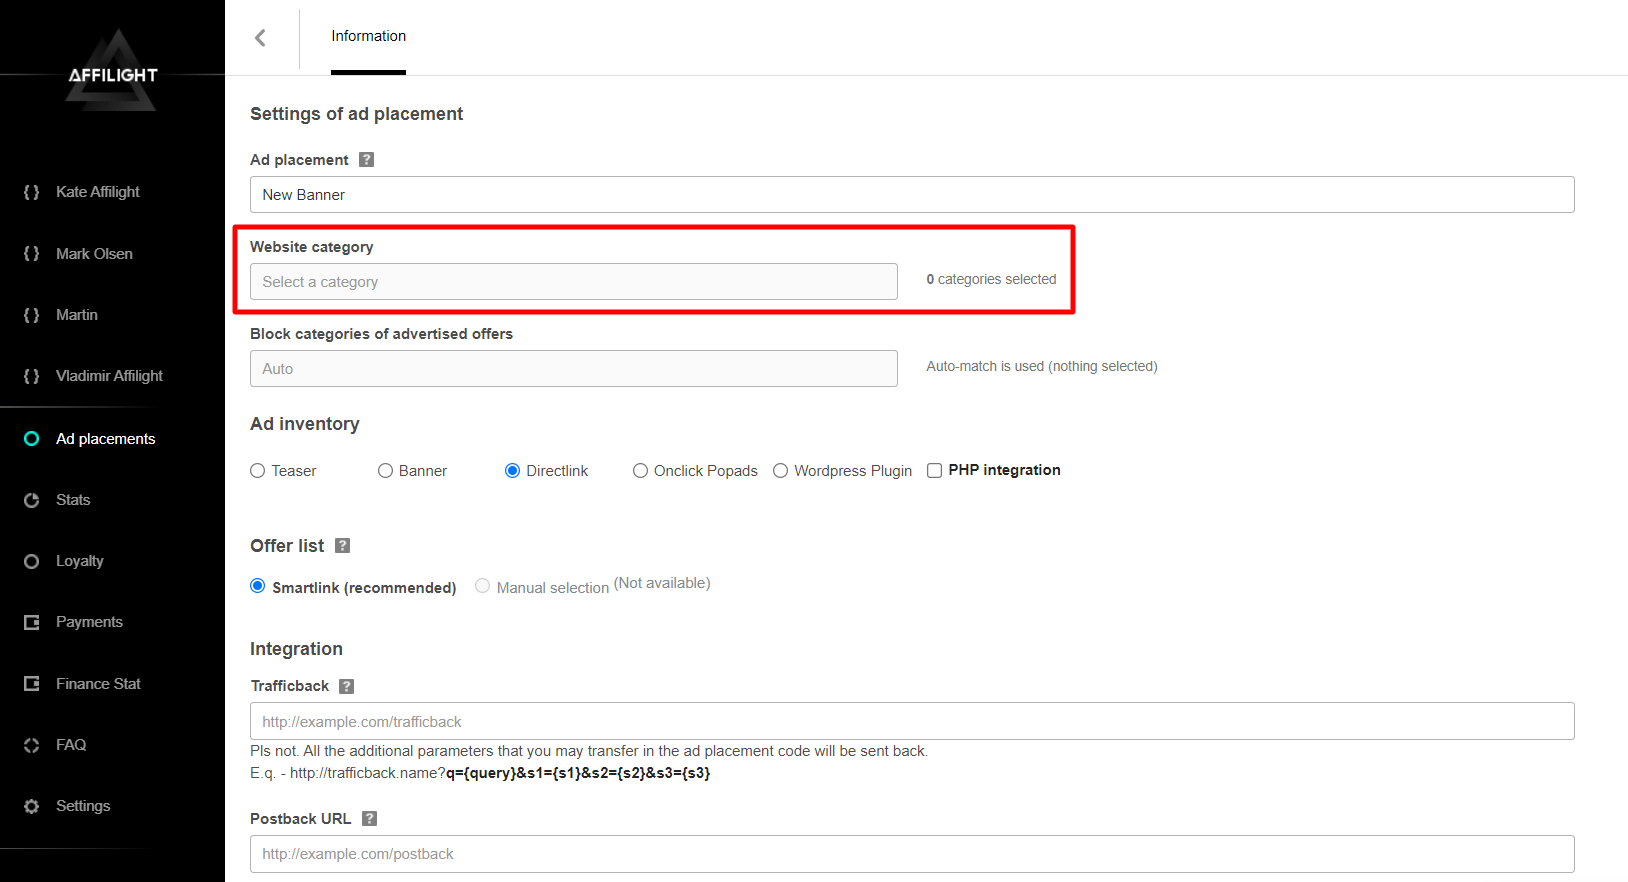
Settings of ad placement
Give a name to the ad placement. For example, we will name our ad New Banner.
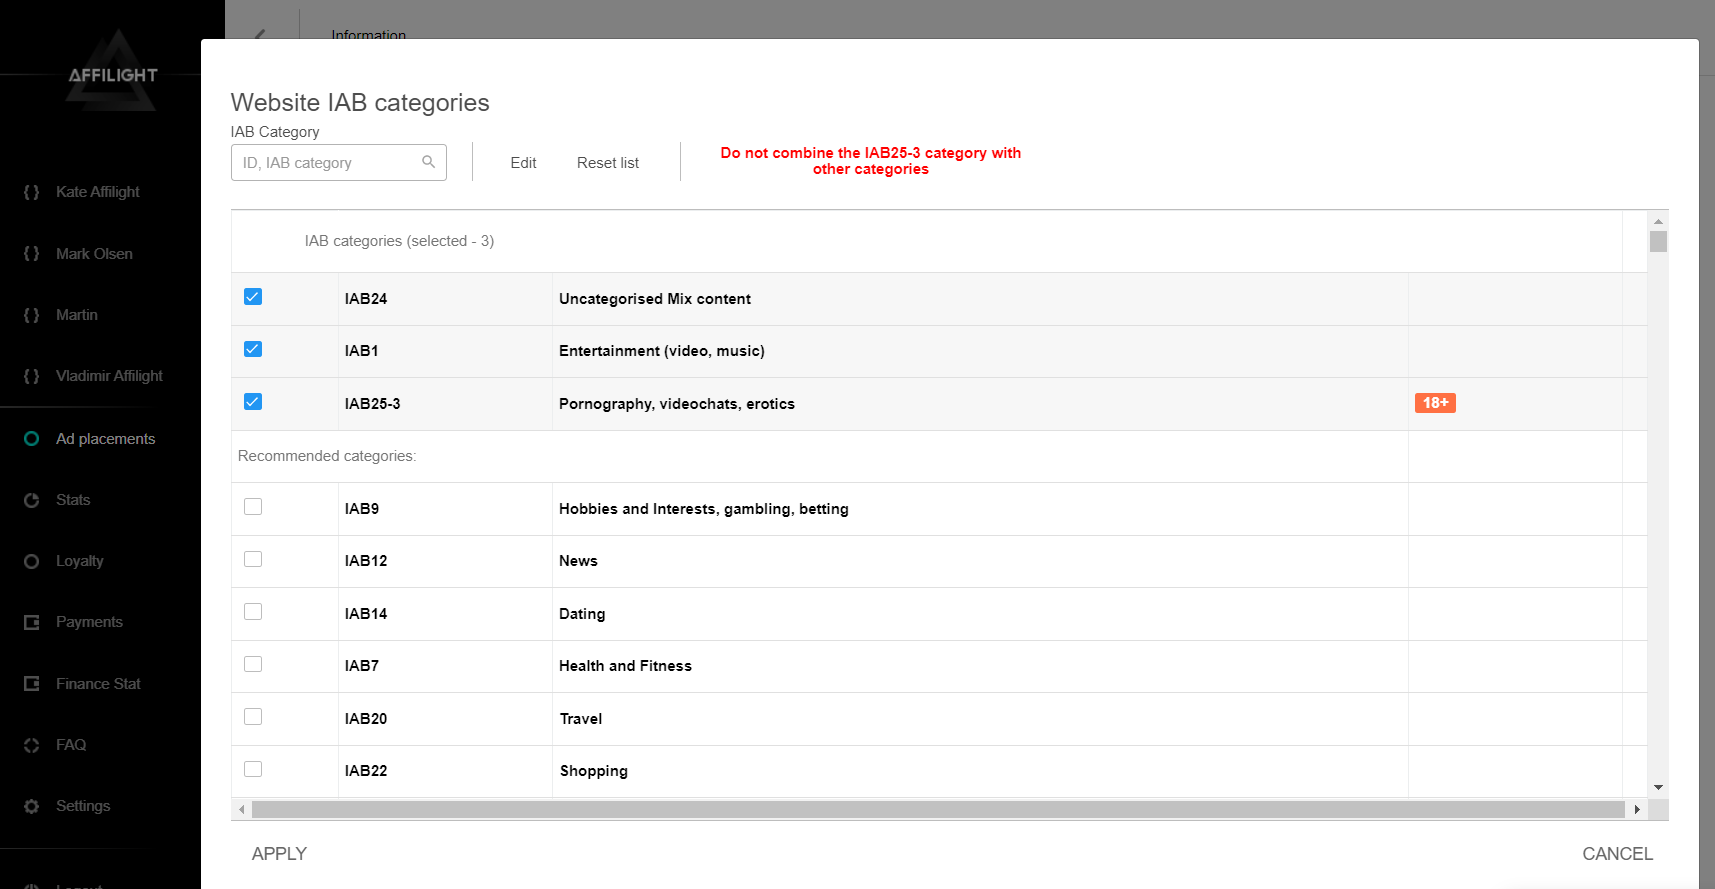
IAB categories is a required setting. You must specify one or more categories to which the platform belongs, as the IAB category is essential for precise targeting.
If you are having trouble choosing a category, consider selecting “IAB24 – Uncategorized Mix Content” or “IAB1 – Entertainment (video, music)” as they are broadly defined. If the platform contains sexually explicit content, choose “IAB25-3 – Pornography, videochats, erotica”. Note that only ads for adults will be shown on the platform in this case.
Note: It is recommended to set no more than 10 categories.
If you have selected “IAB25-3 – Pornography, videochats, erotica” do not select any other categories.
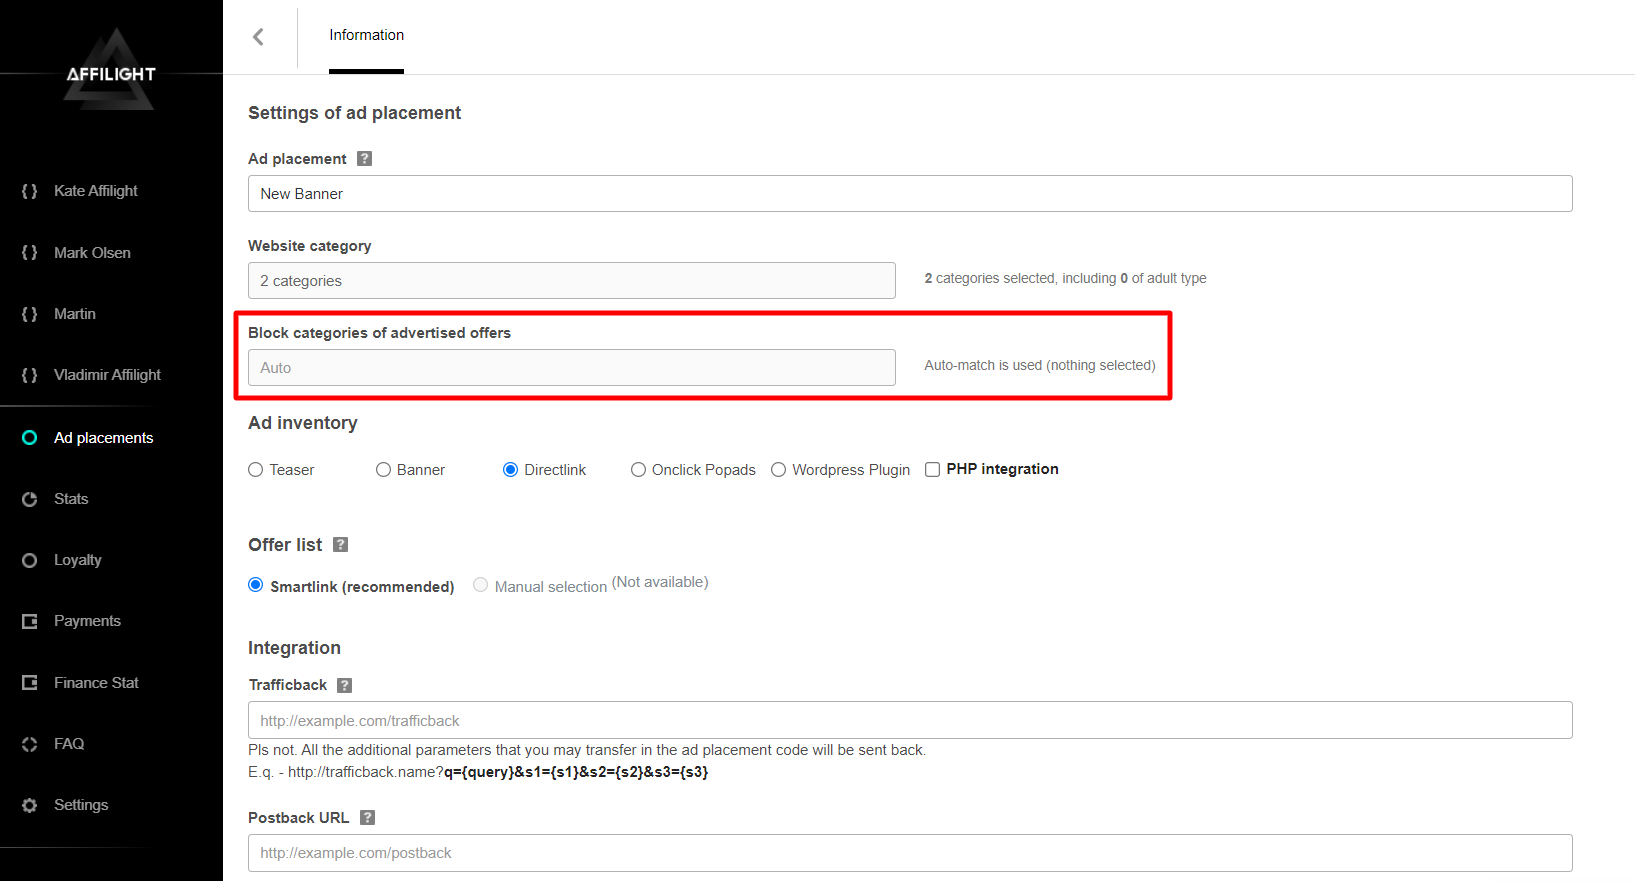
You can also block categories of advertised offers in a similar way to how you set the website IAB categories.
Ad inventory
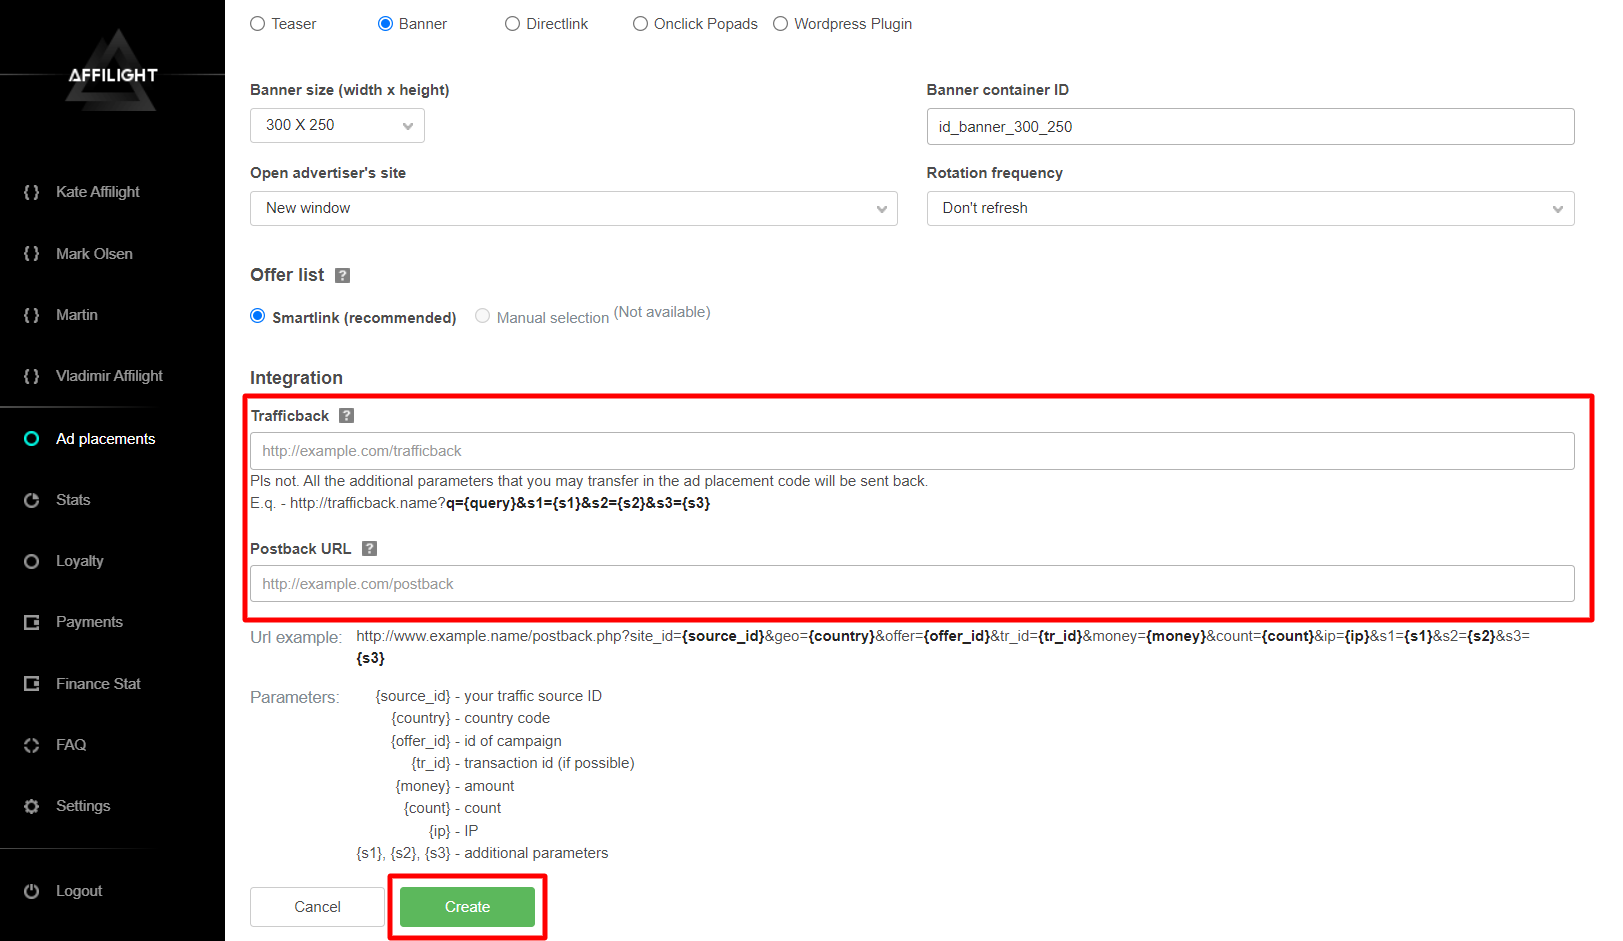
Select Banner.
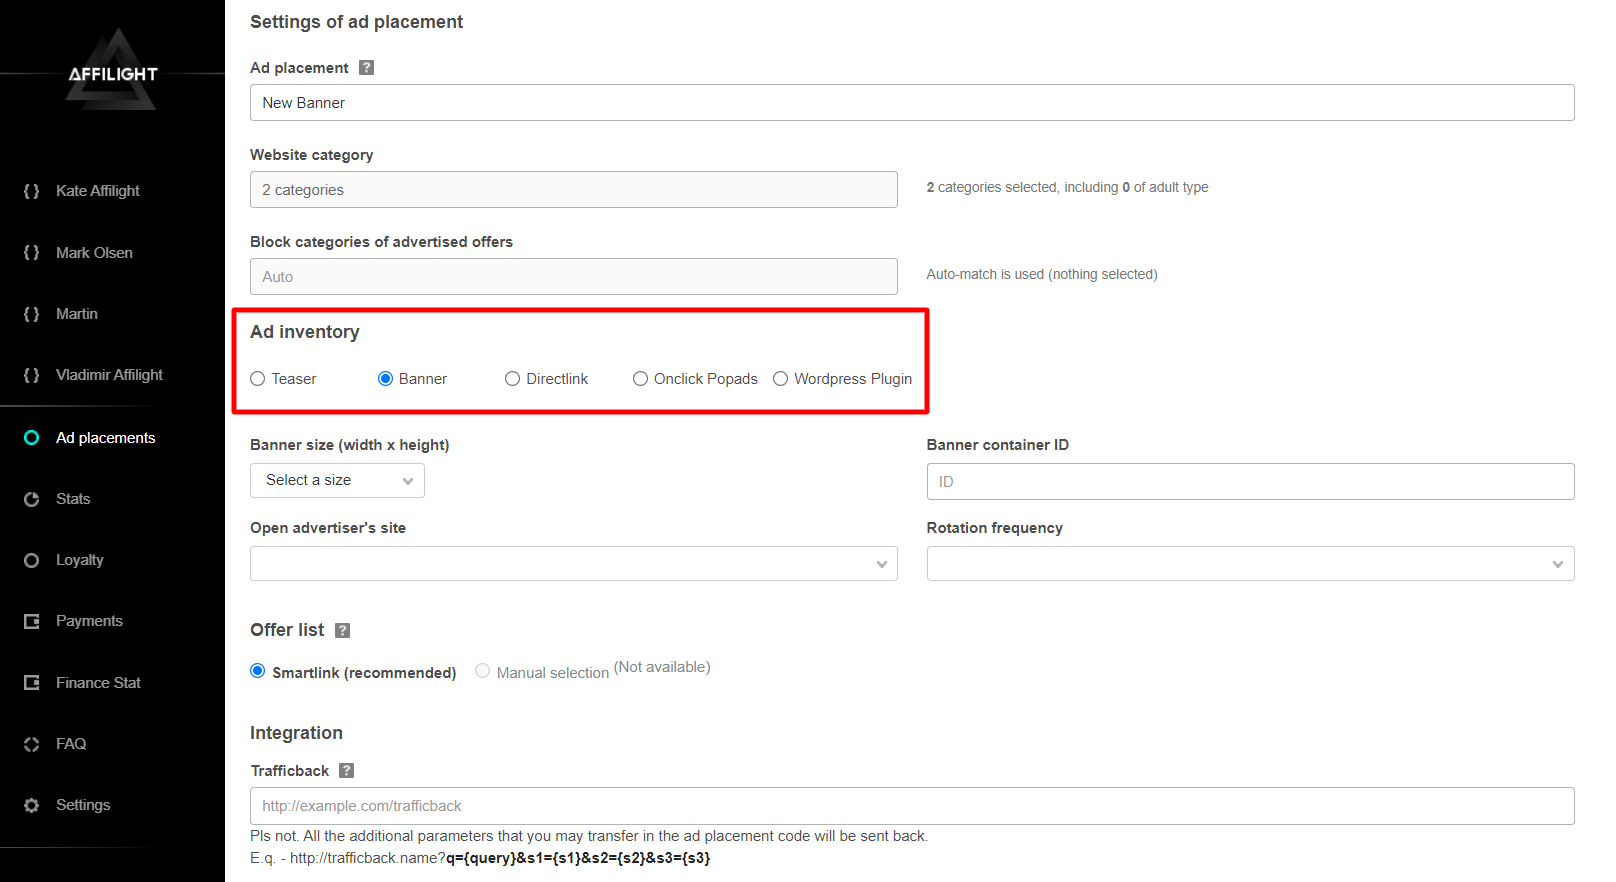
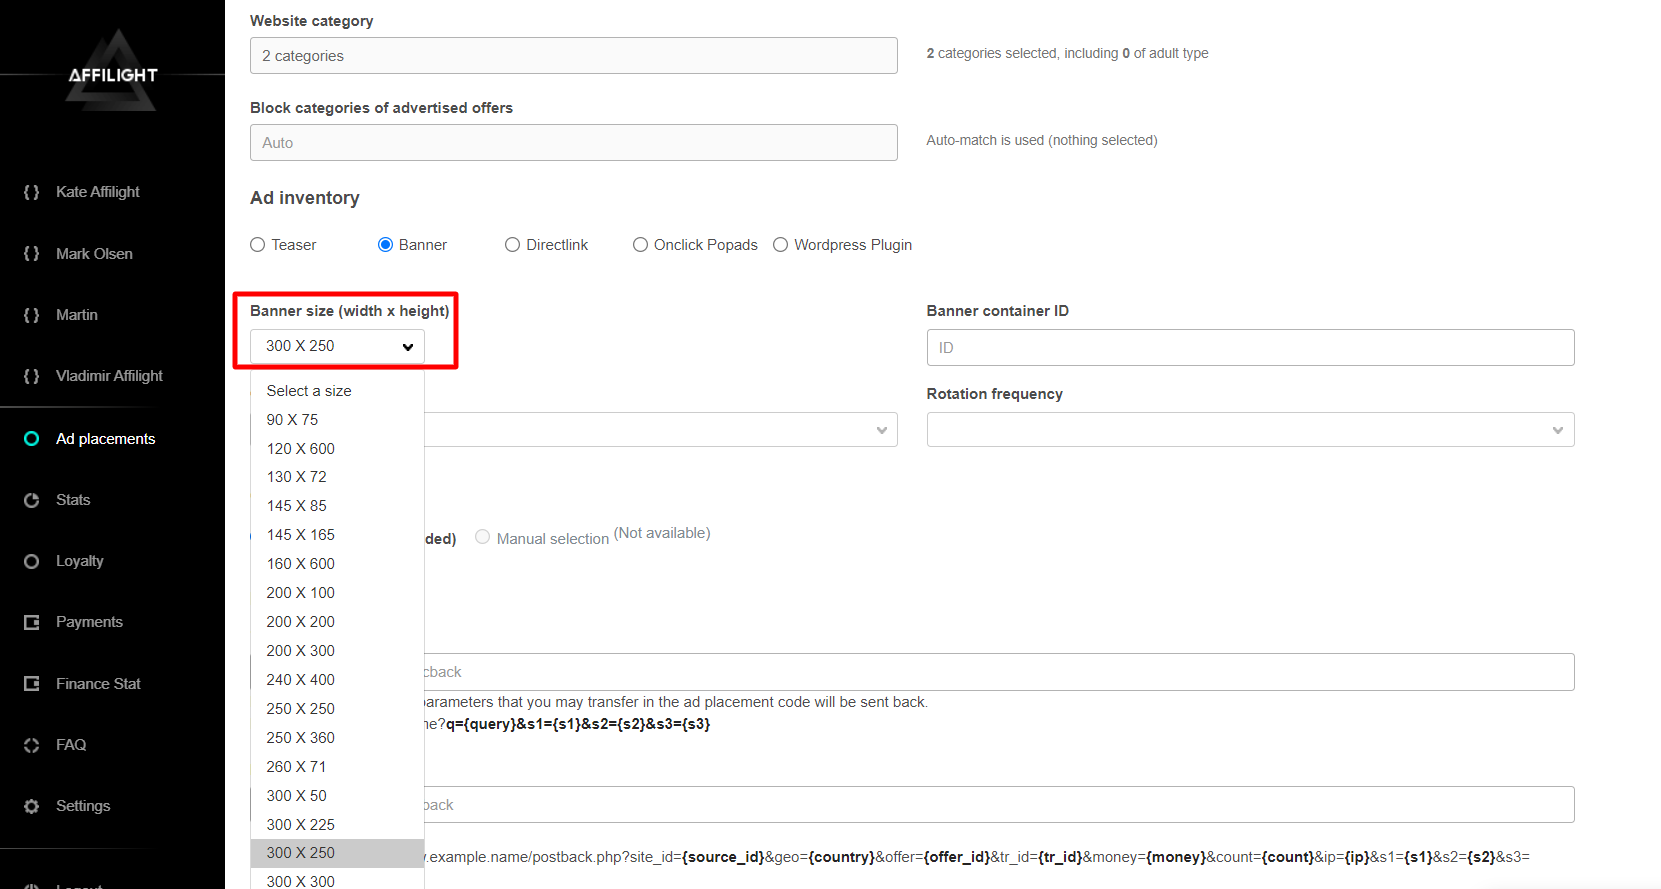
To select the banner size, simply choose it from the “Banner size” list. In this case, we’ll choose “300 x 250” for testing purposes.
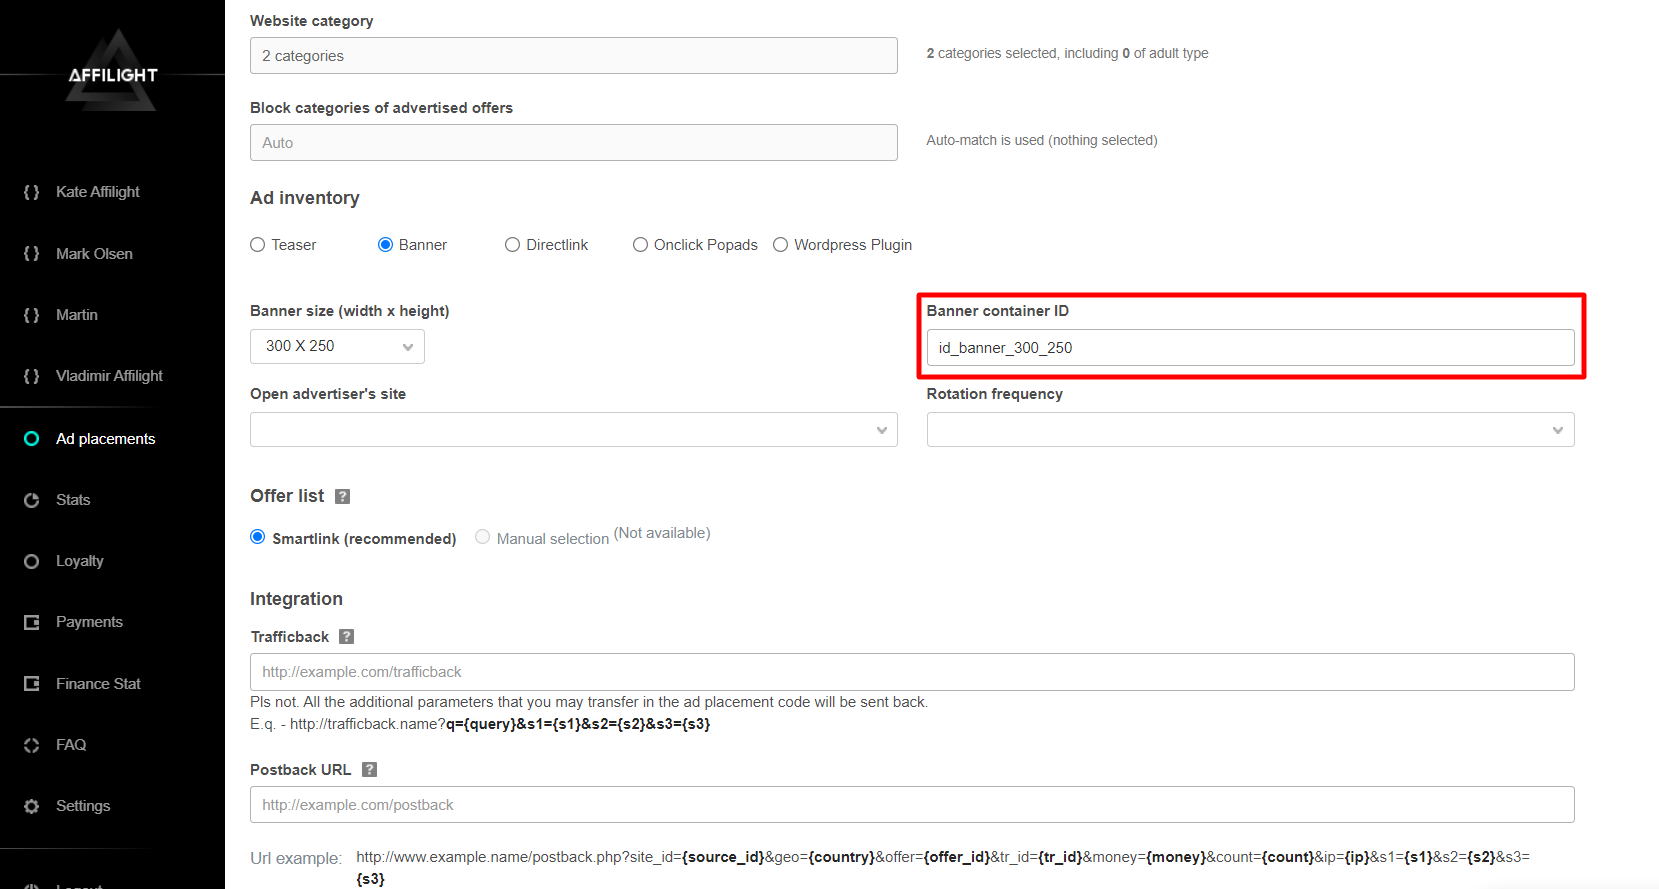
In order for the banner to be displayed in the desired place during further script integration, you can specify the ID of the banner container. But the parameter is optional: without it, the banner will take the place of the banner script and completely fill the parent container in height and width.
We recommend using a template for the ID – "id_banner_SIZE". In our case, the ID will look like this – "id_banner_300_250" (without double quotes).
If you don’t know what a container ID is, check out the article.
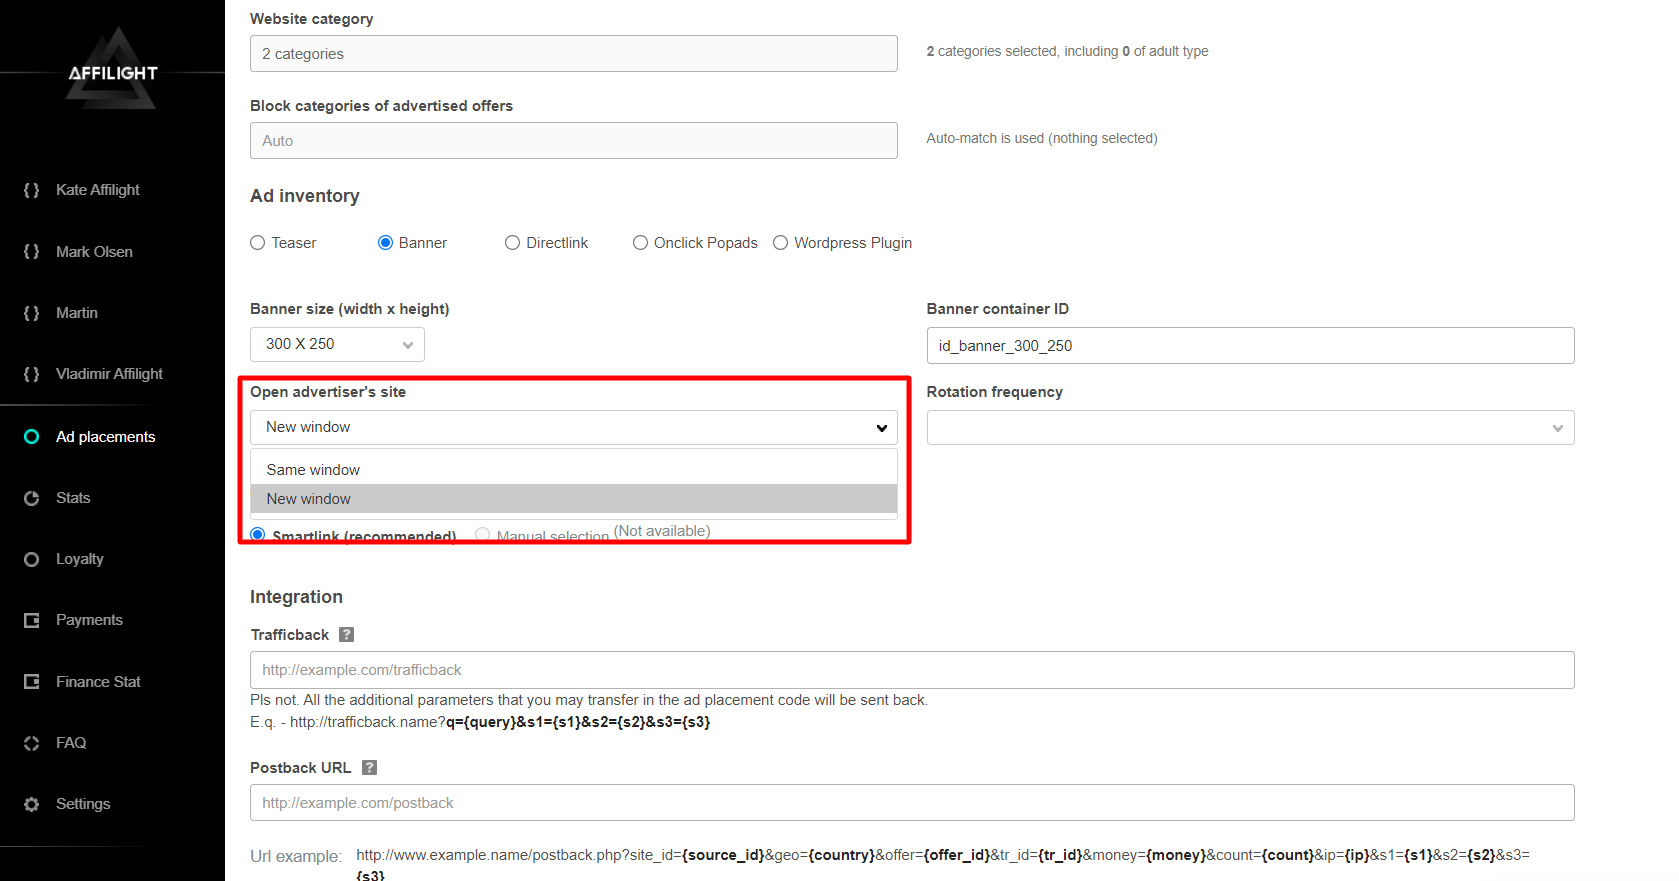
Select one of the methods for opening ads: “Same Window” or “New Window”. Depending on the choice, the advertiser’s website will be opened in the chosen way after clicking on the banner. We recommend choosing the “New Window” method.
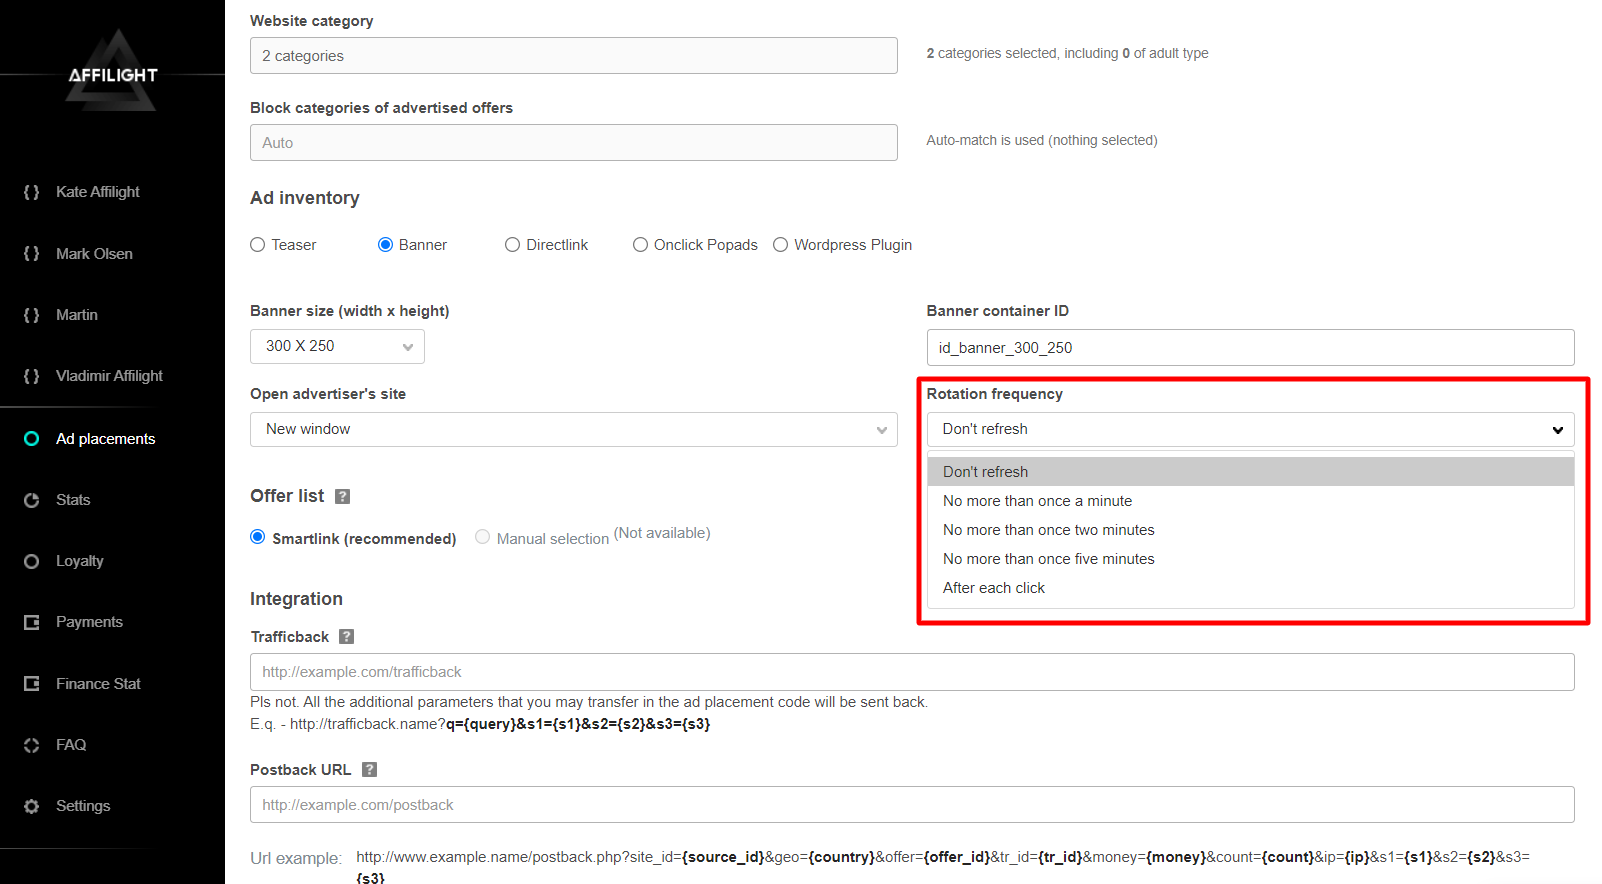
Set the update interval for the promo material. If the user spends a lot of time on the publisher’s site, it makes sense to show him different banners during one session. For example, by setting the interval to “No more than once a minute”, the content of the banner will change every minute. The functionality can be set to “After each click” or disable updates. “After each click” works only in combination with the method of opening the advertiser’s site in a new window.
Offer list
Select Smartlink.
It is a link that automatically selects the offers by a number of parameters. This way of monetization is one of the most convenient and easy to use. Particular offers or verticals can be set up (or blocked) by an Affilight manager on your request.

Integration
Trafficback URL is important for traffic and restrictions settings. If we didn’t find ads for a user or we couldn’t accept, for example, desktop traffic then some users see a page 404. If you want to avoid that, specify a page of your website or another ad network as a trafficback. Anytime our system can’t find a suitable ad or a show was blocked, your traffic will be redirected to trafficback and you lose nothing.
Besides, you can add specific parameters in your trafficback. Some networks ask to send them additional information. In our system you can use the following parameters:
- {QUERY} is a keyword. A title of the page is used in the popup script as a keyword by default.
- S1, S2, S3 are additional parameters. How and when use it you can read below.
If you use third-party affiliate tracker then it makes sense to set up Postback. If you need any help, ask our managers to set it up for you. Most publishers don’t need to fill it. You can find a detailed statistic about your traffic in the section Stats.
Later we will tell you in detail about setting Postback URL and Trafficback URL.
When all the data is entered, click Create.
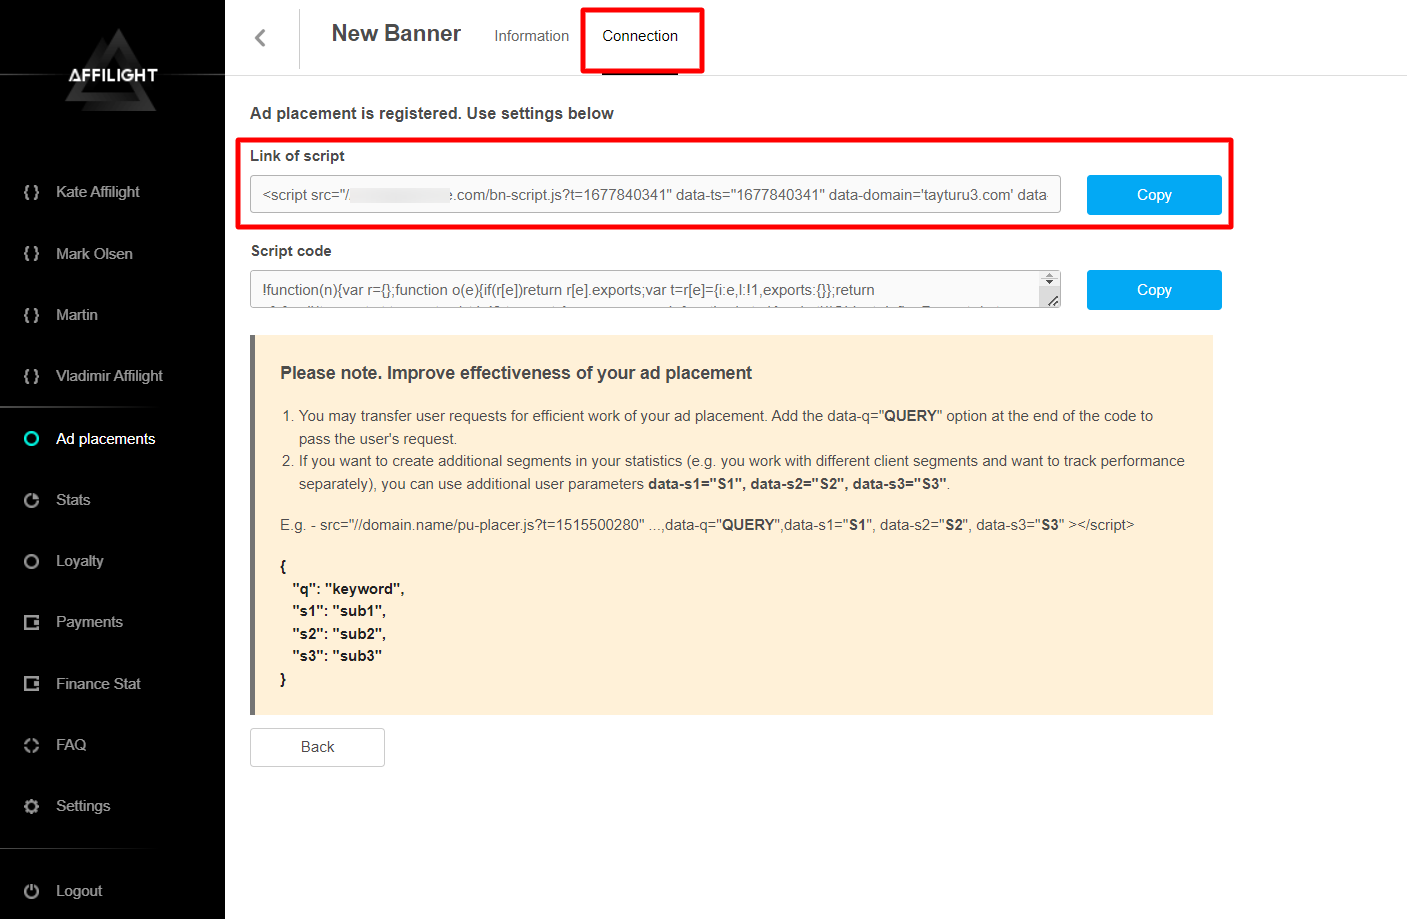
How to Add Banner Script on Your Website
After the banner script was created, it must be added to a website. Go to the Connection section and copy the link of the script. The code is used for a “complex” setting.
Adding script to HTML code
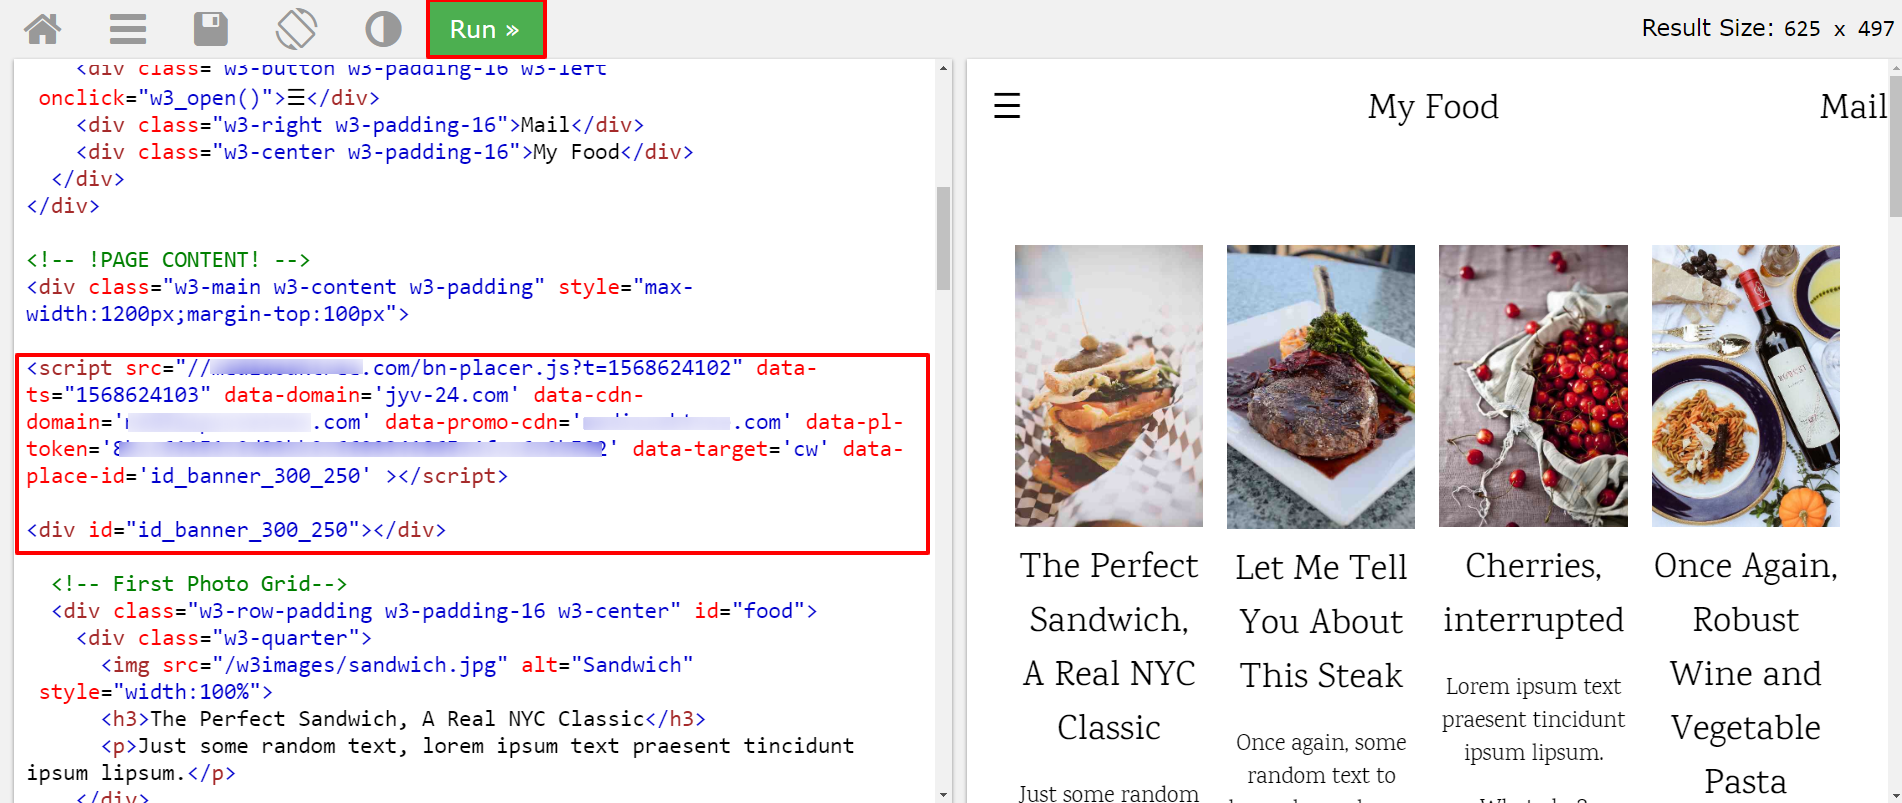
To add a script to a separate page or landing page, the suggested method is to use a text editor and an HTML template based on a site like W3Schools.
First, follow this link and select a location for placing the banner. In this example, we’ll add it after the Menu section. To do this, insert a link of script and the <div> tag, which contains the banner ID:
<div id="id_banner_300_250"></div>Optionally, you can use a similar <div> tag if the site banner container ID was specified when creating the platform.
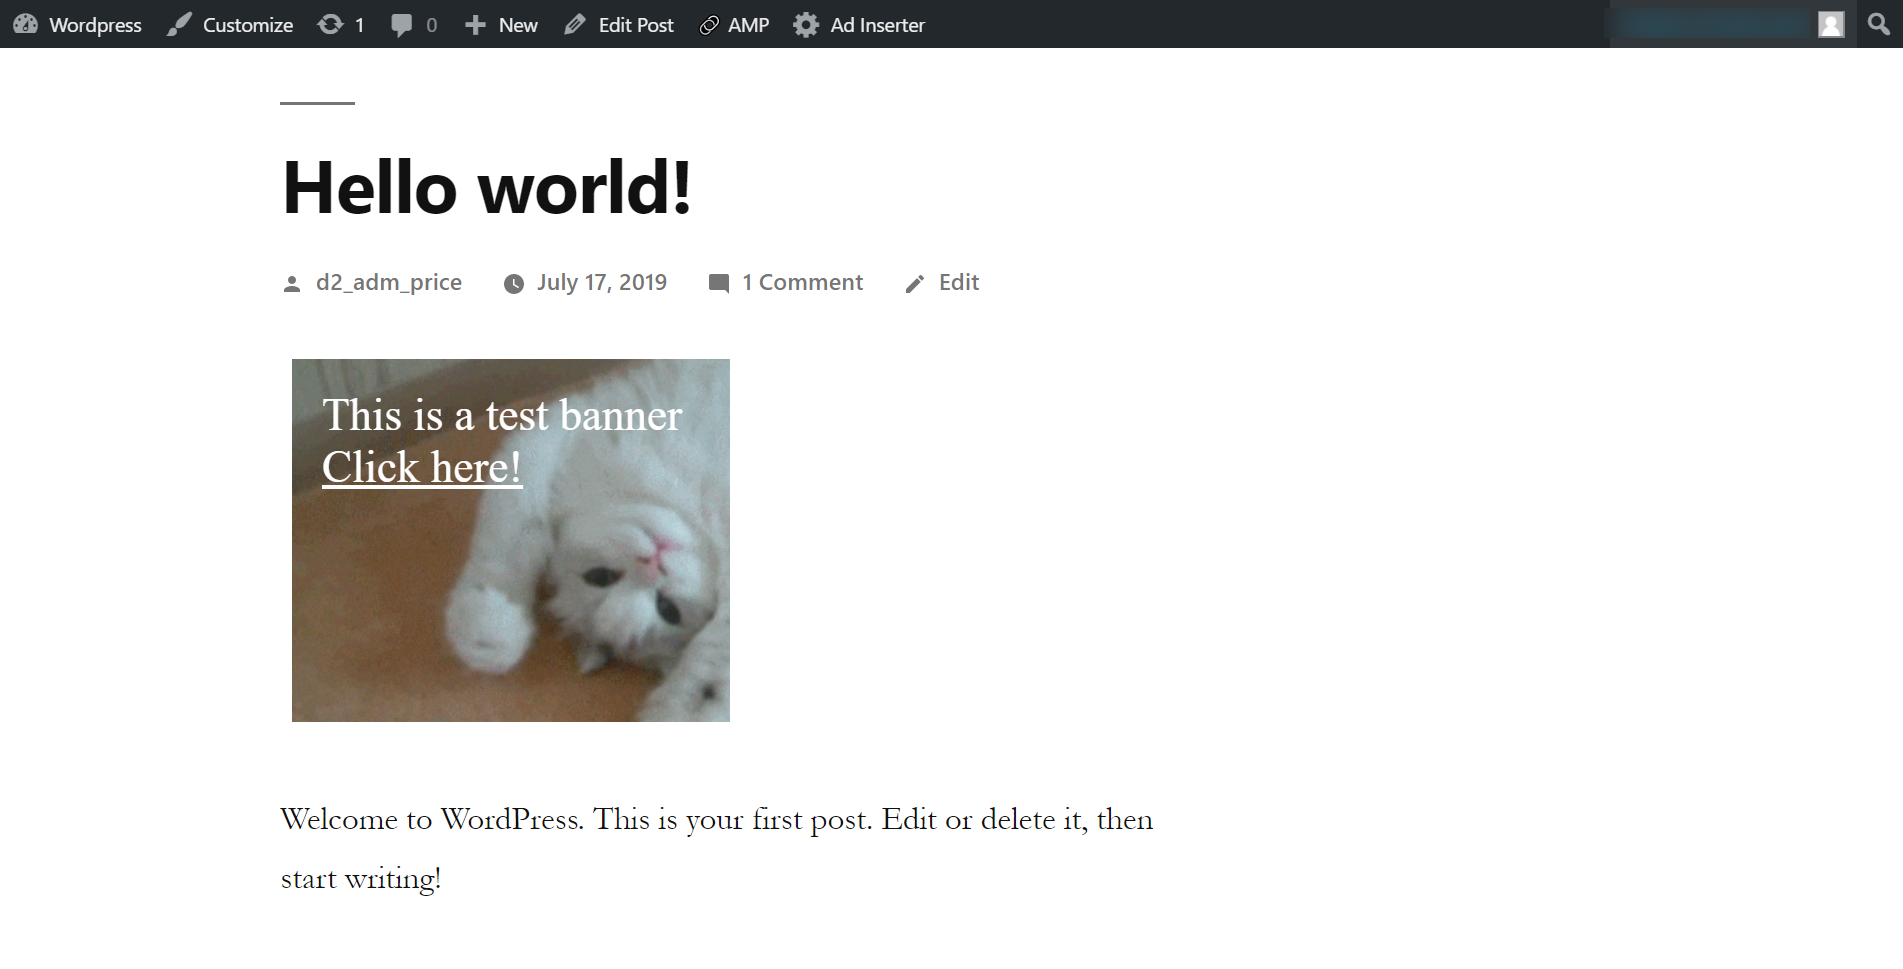
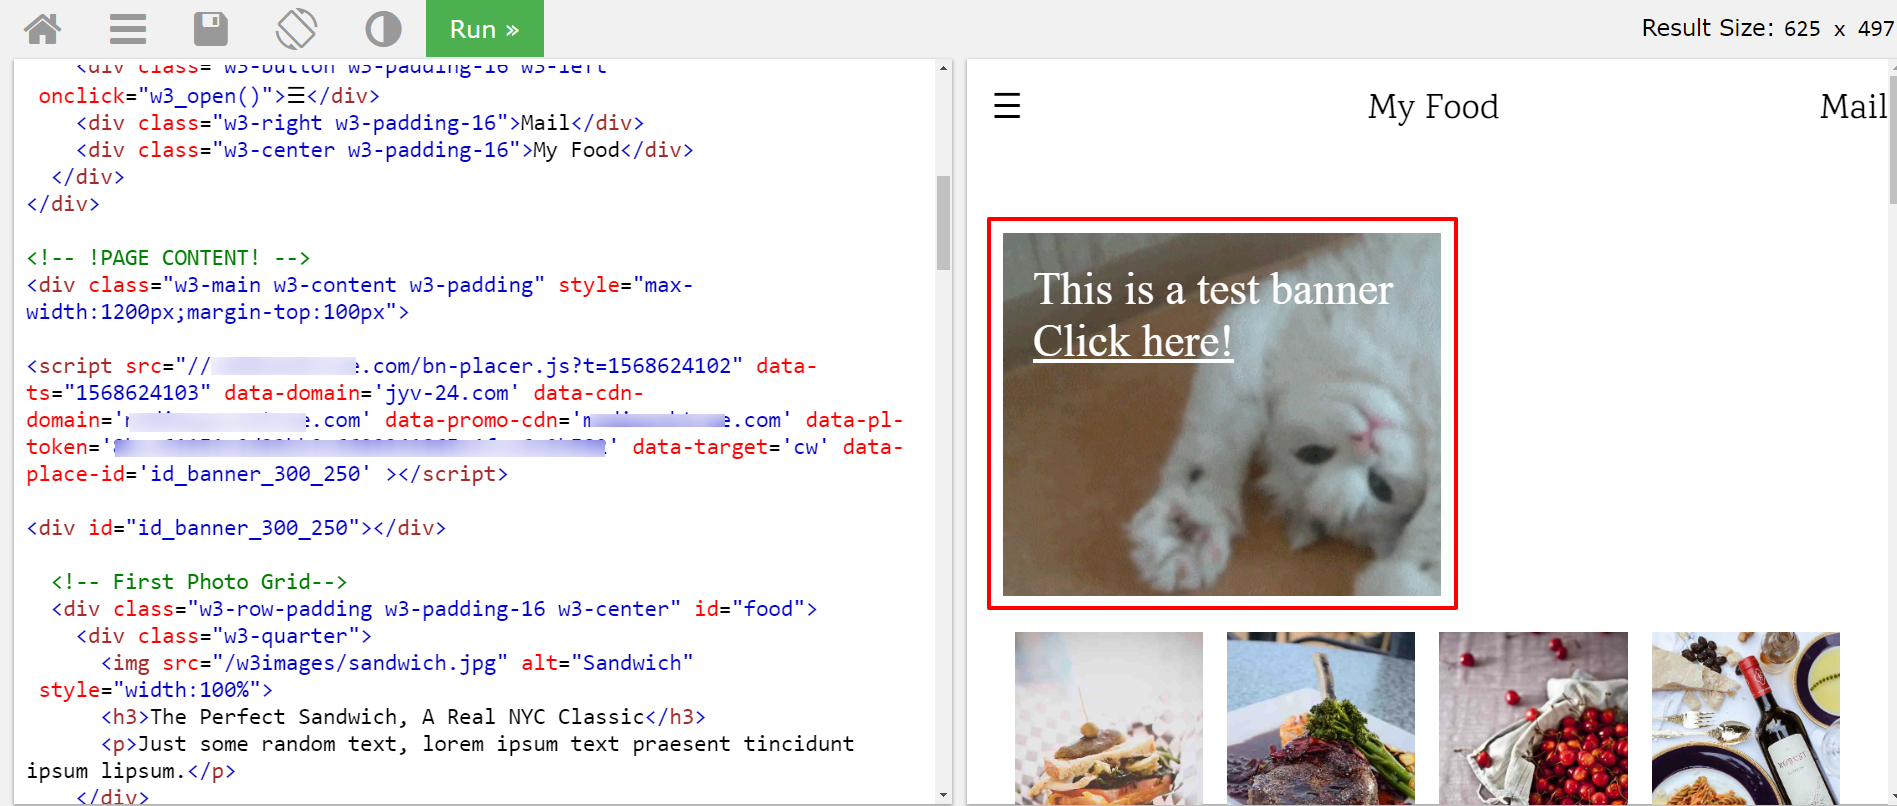
Then, press the Run button to see the banner on the page.
Clicking on the banner will open the advertiser’s website.
Note: If the platform has just been created, the script may not work on the page. It takes some time to activate a new platform. Wait 10-15 minutes, then check it again.
Some browser plugins may change the appearance of the test site. If your test site looks different, open it in another browser or disable plugins.
Finally, make sure that the banner ID specified in the script link matches the ID that you use to display the banner’s place on the site page.
Adding script via CMS Blogger
To add Banner to CMS Blogger, you will need to make changes in the installed theme. The process is similar to adding a script to the HTML code.
We will be using built-in widgets, which are called gadgets on this service. Gadgets allow you to insert banners on all post pages and on individual posts in the post editor.
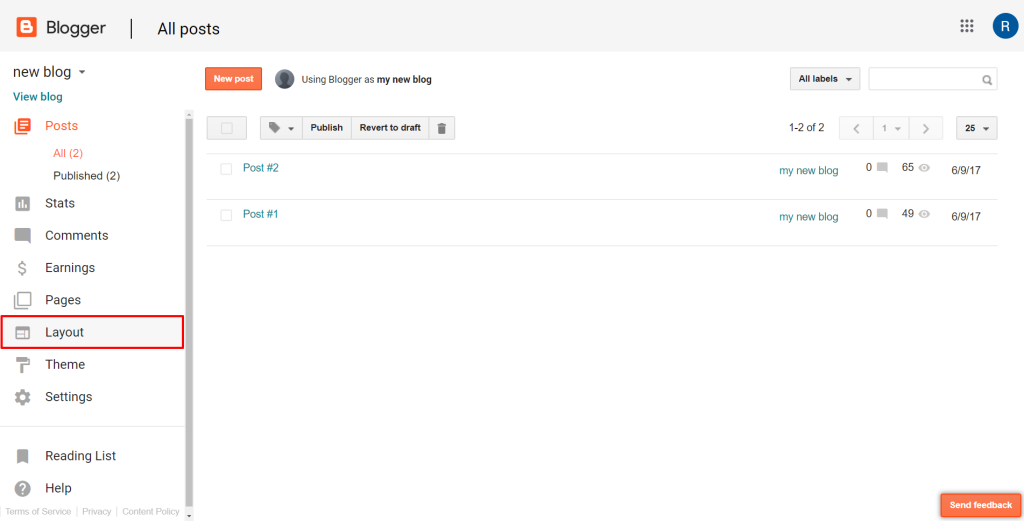
Go to your Blogger account and visit the section Layout.
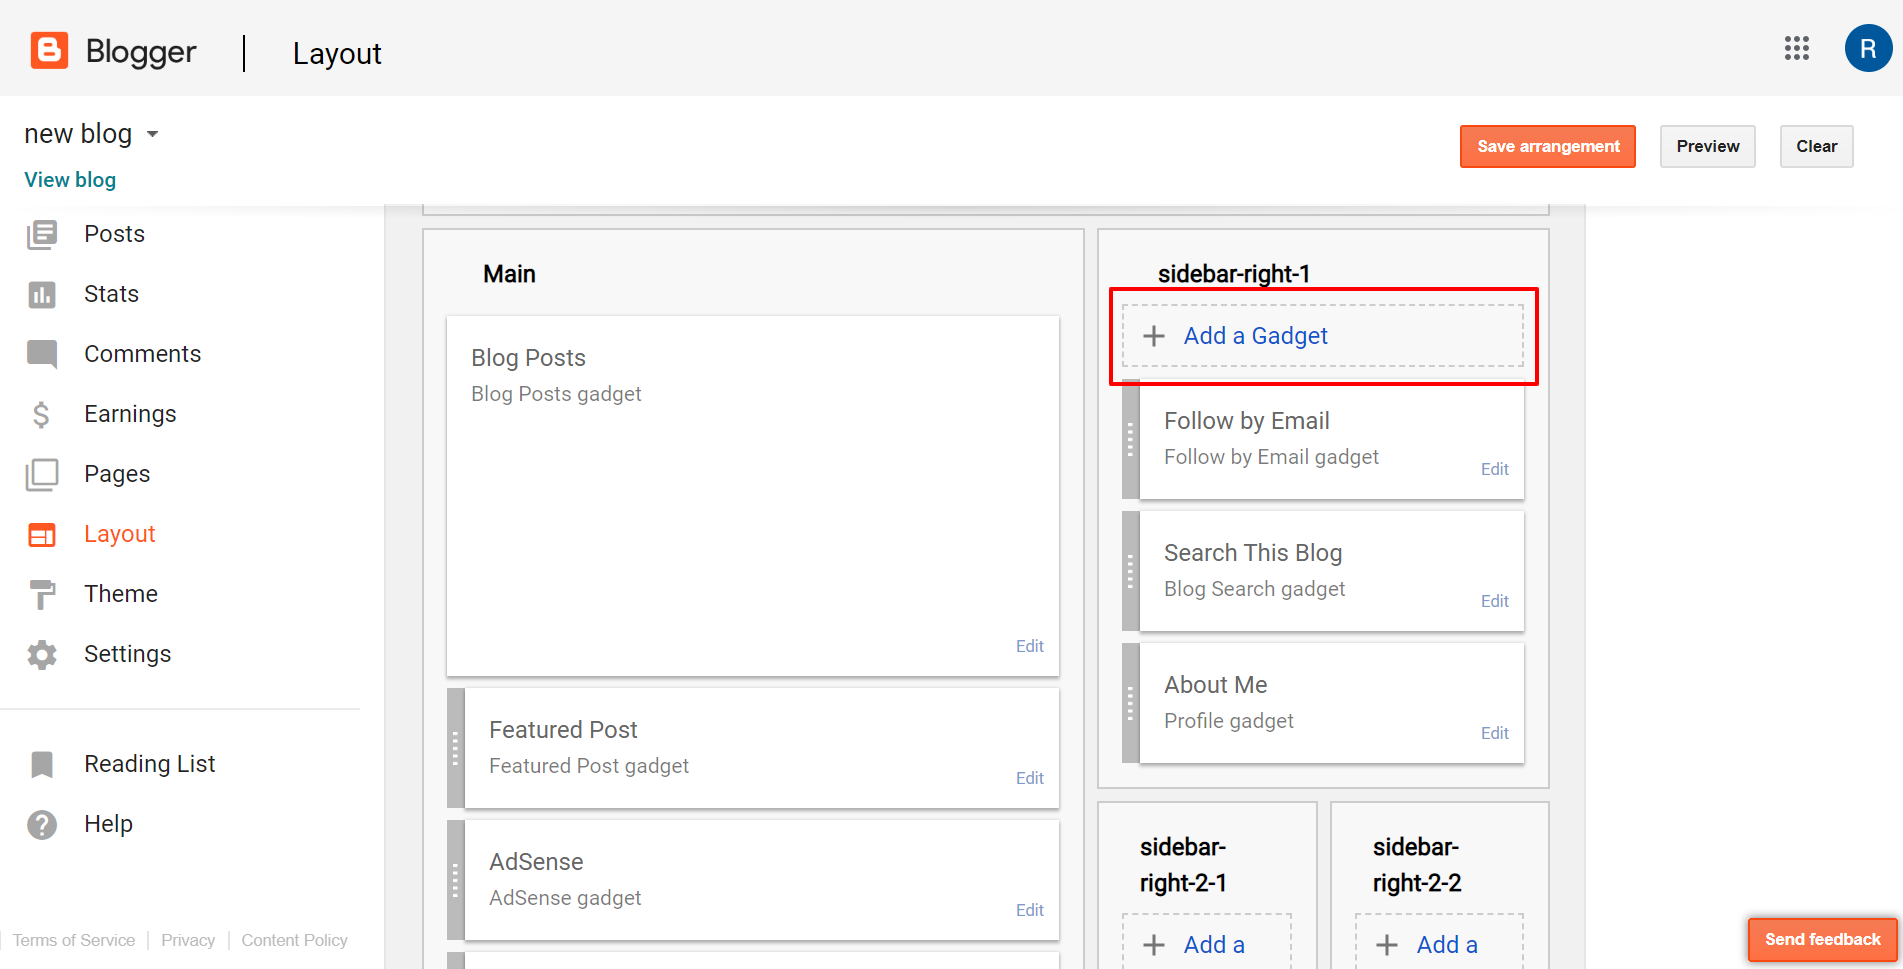
In a new window, click Add a Gadget.
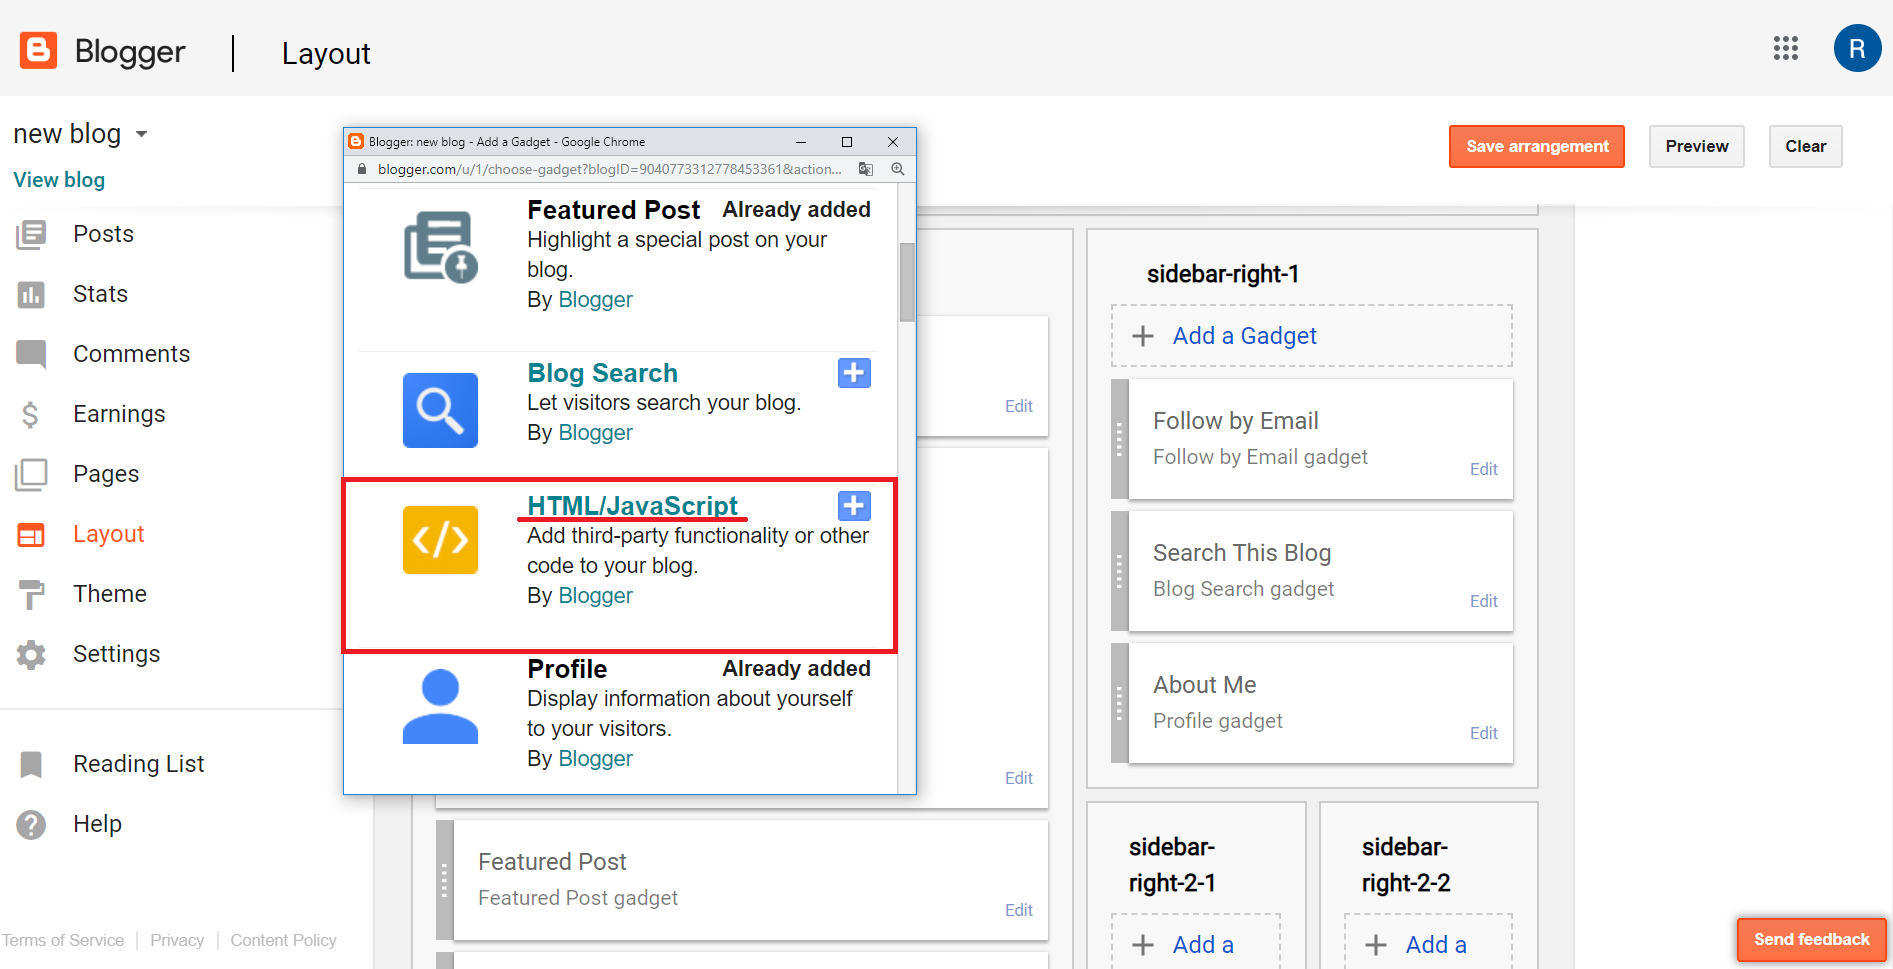
Click on HTML/JavaScript gadget.
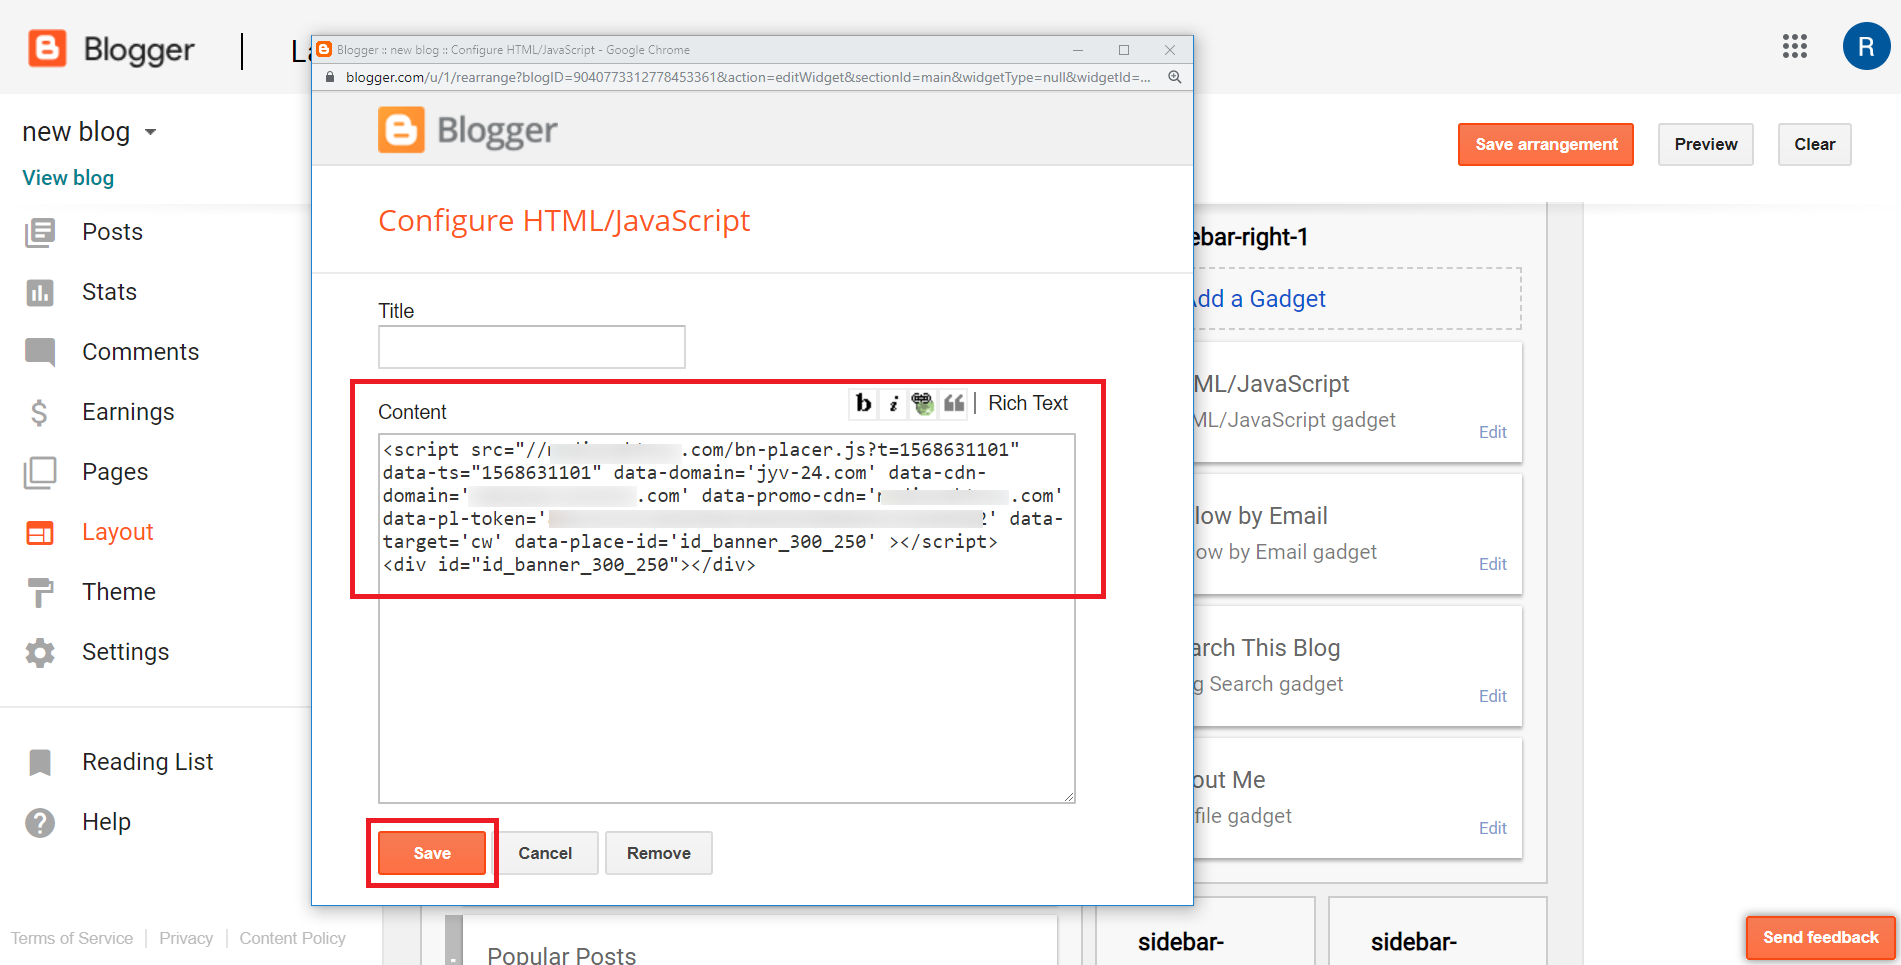
You will be directed to a new window where you can add the script and the <div> tag containing the banner ID.
<div id="id_banner_300_250"></div>Click Save.
Transfer this gadget in the left column Main, in the place you want to put the button. In our case, we added it above the main content.
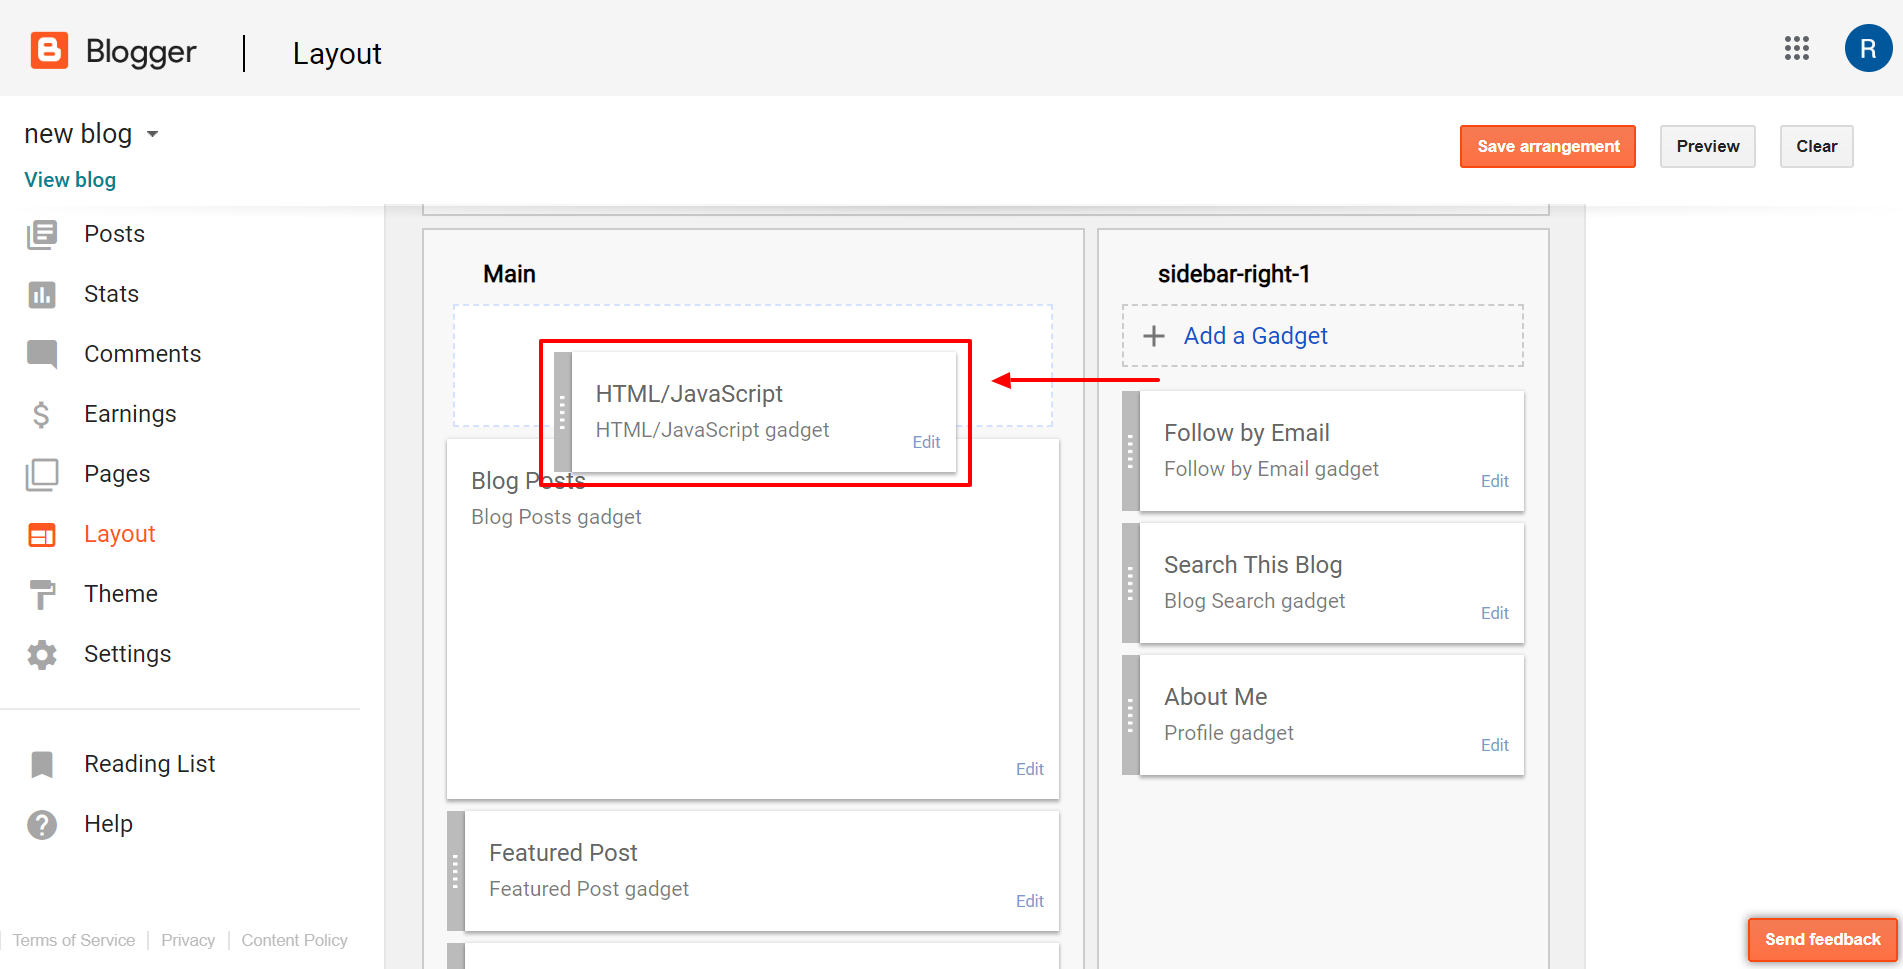
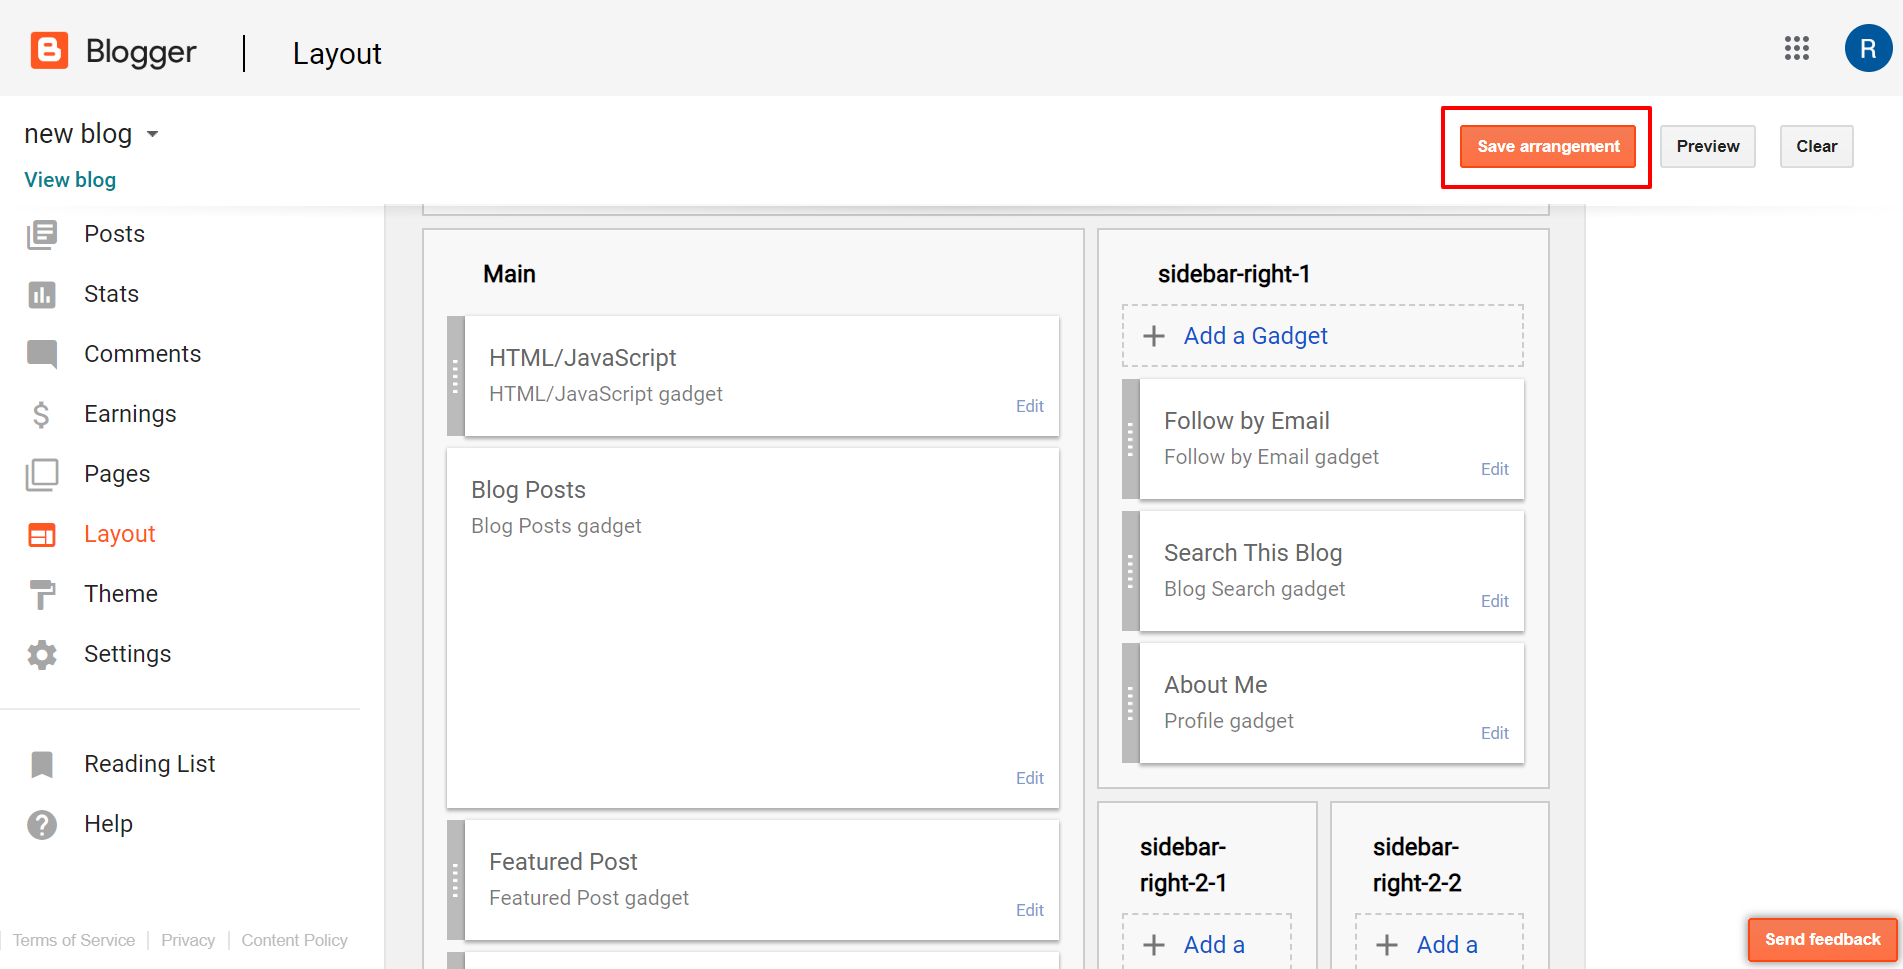
Now click Save arrangement — script will become active.
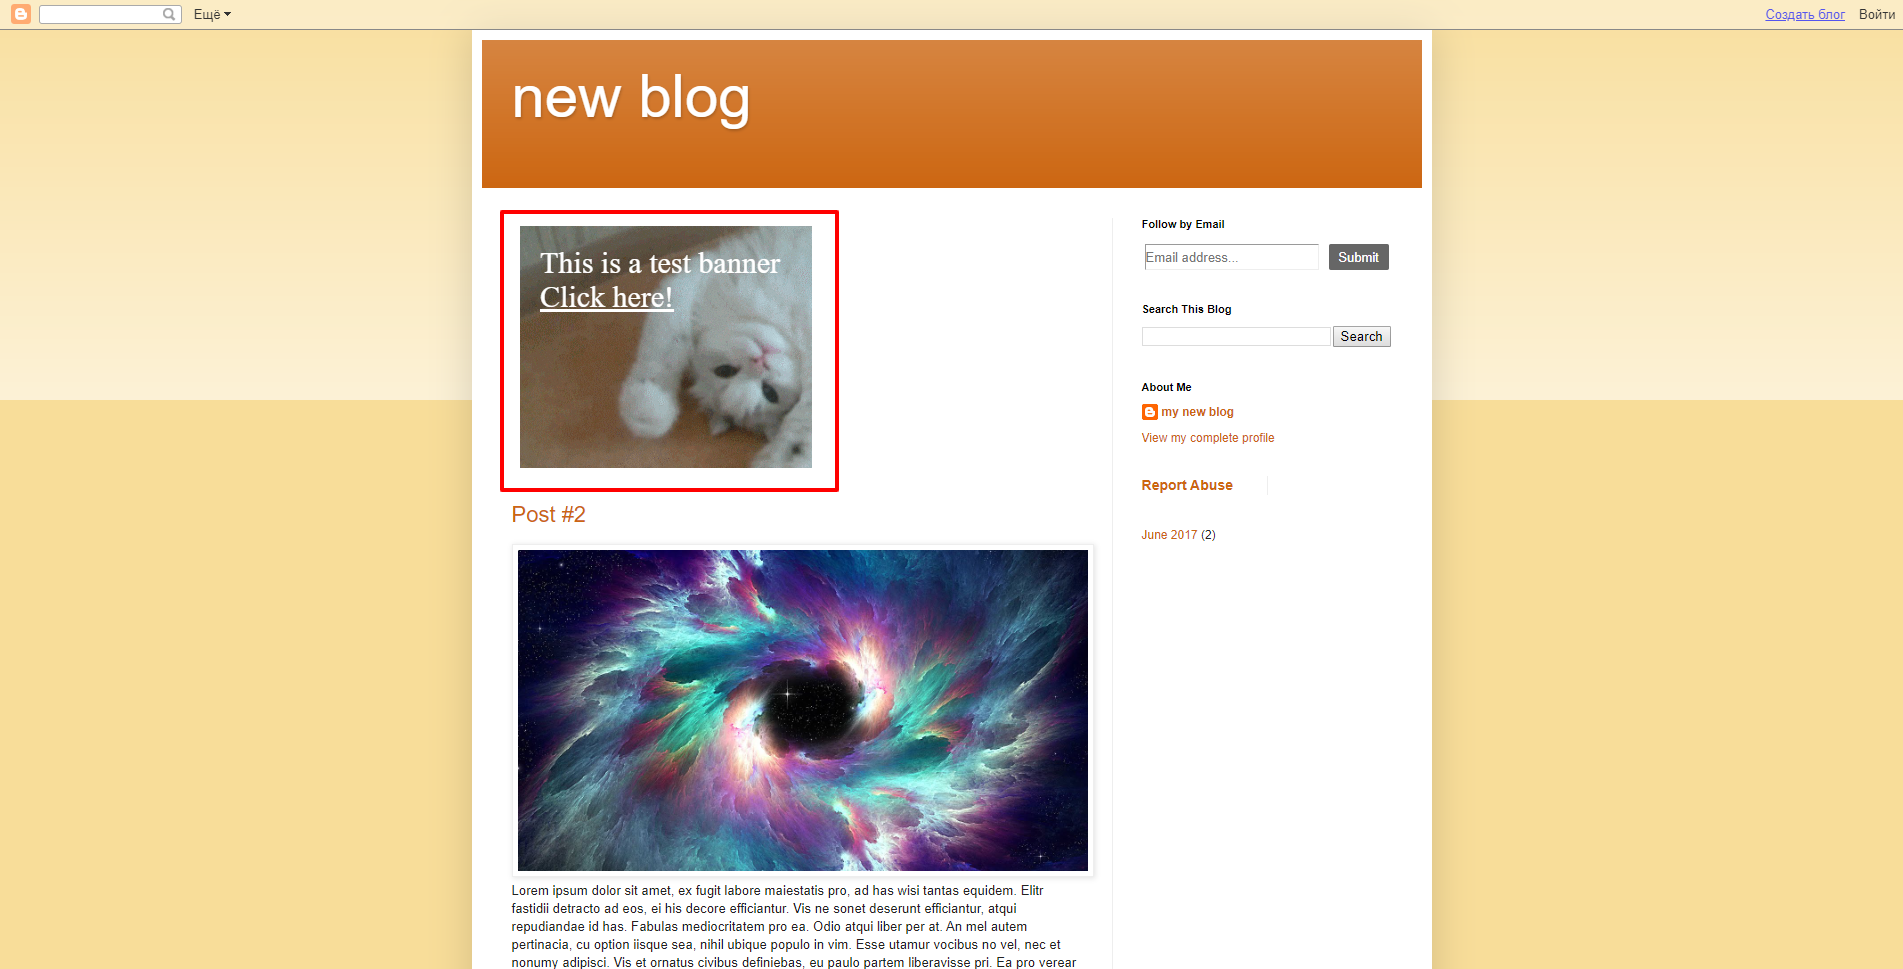
The banner will appear on the website page.
Adding script via CMS WordPress
If you use WordPress CMS, then you can insert the link of the script in two ways:
- Make changes in the theme of your site on WordPress.
- Use a special plugin.
The easiest and fastest way is to use the plugin. We will consider it further.
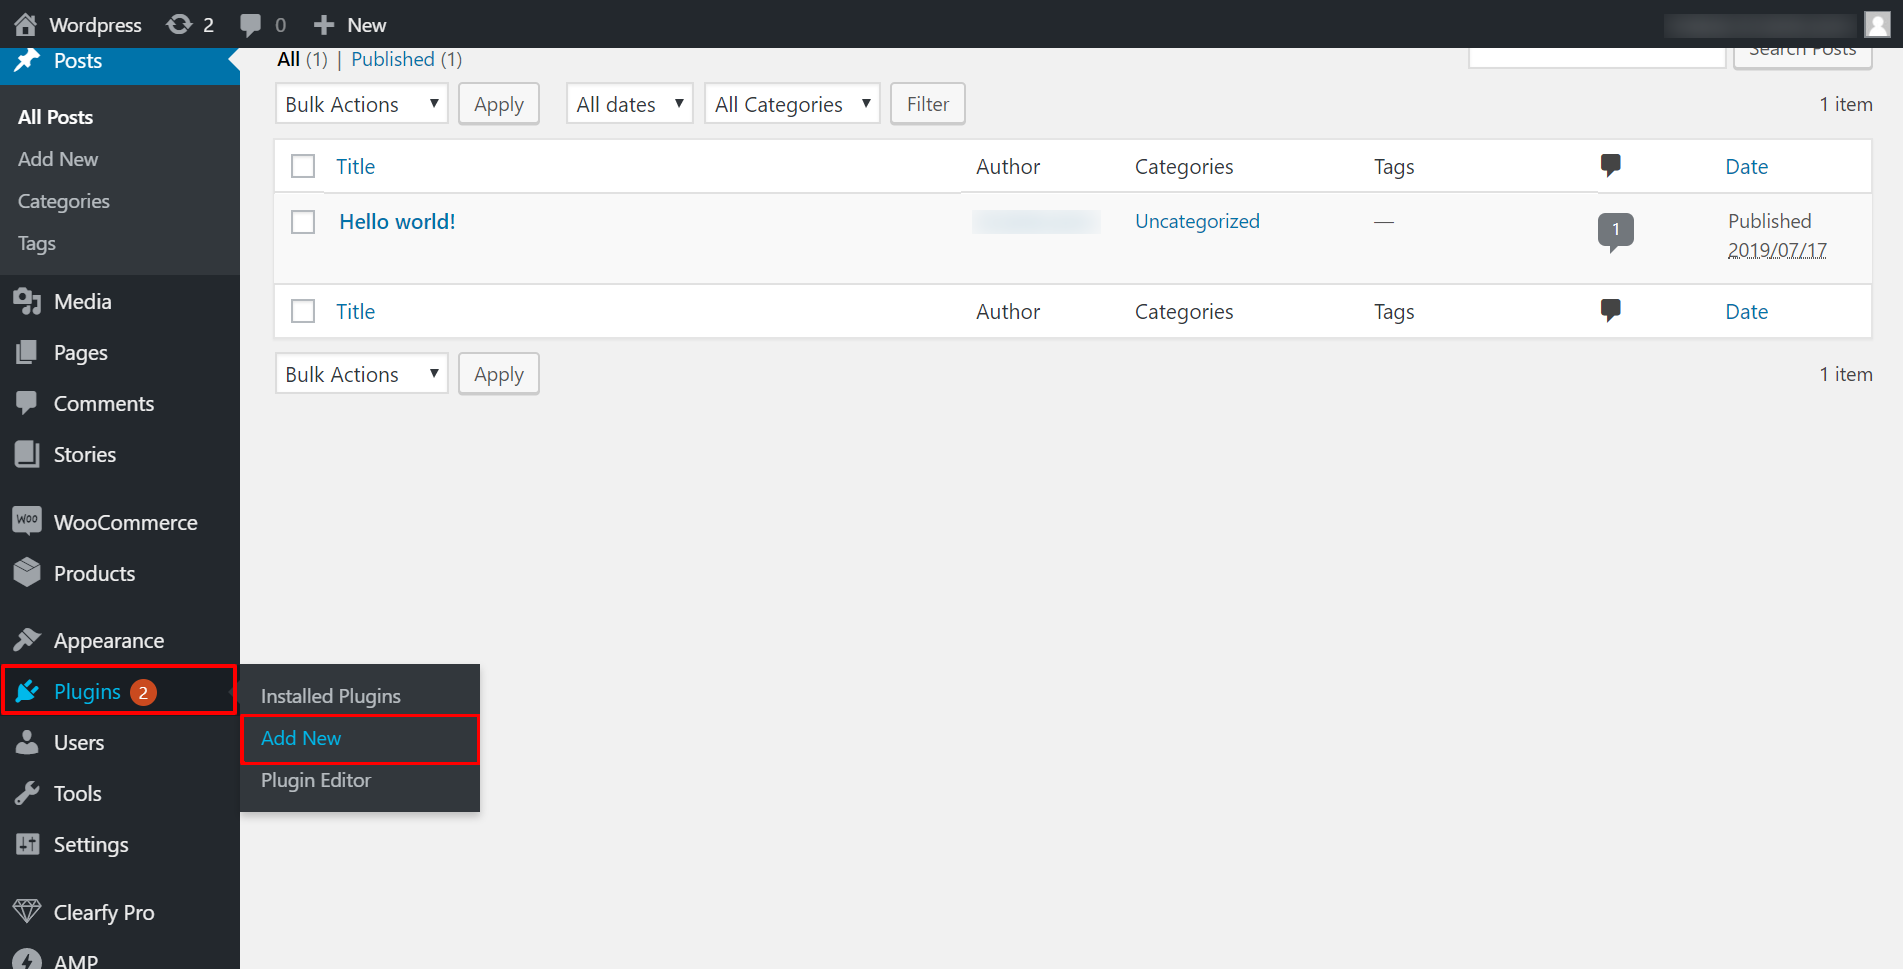
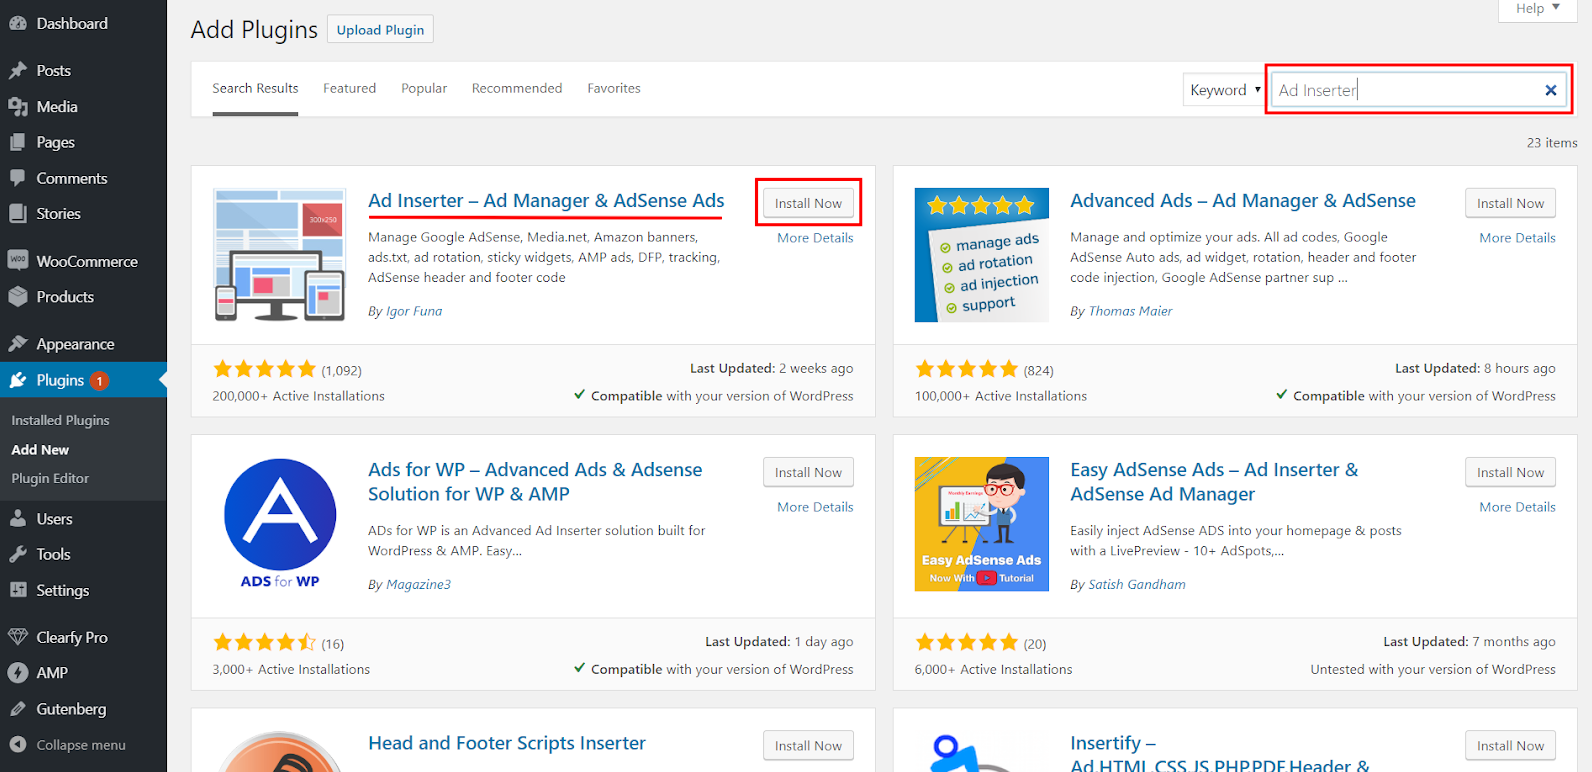
Go to the admin panel of your site on WordPress. Open the Plugins tab and click Add New.
To find the “Ad Inserter – Ad Manager & AdSense Ads” plugin, simply use the search bar on the page that opens. This plugin is one of the most popular solutions for placing ads on a WordPress site.
Click Install now.
You can use other plugins to add banners. Check out their list on the apps page first.
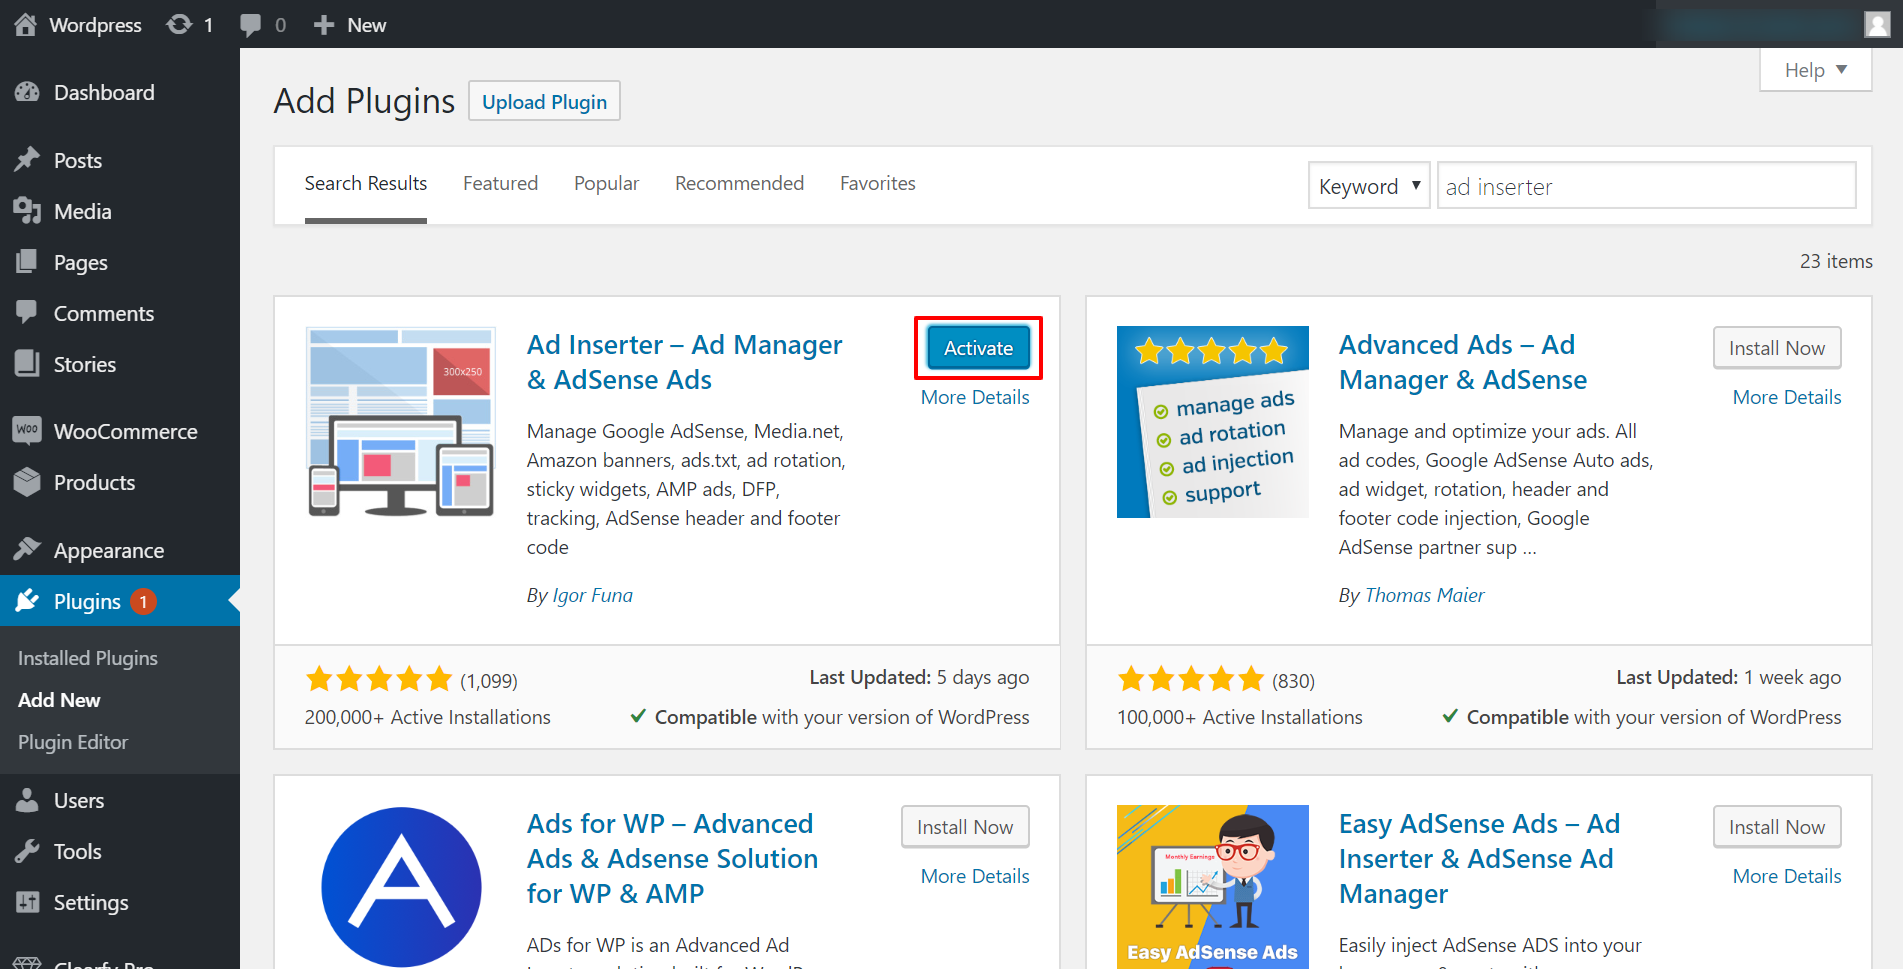
When the extension is installed, click on Activate.
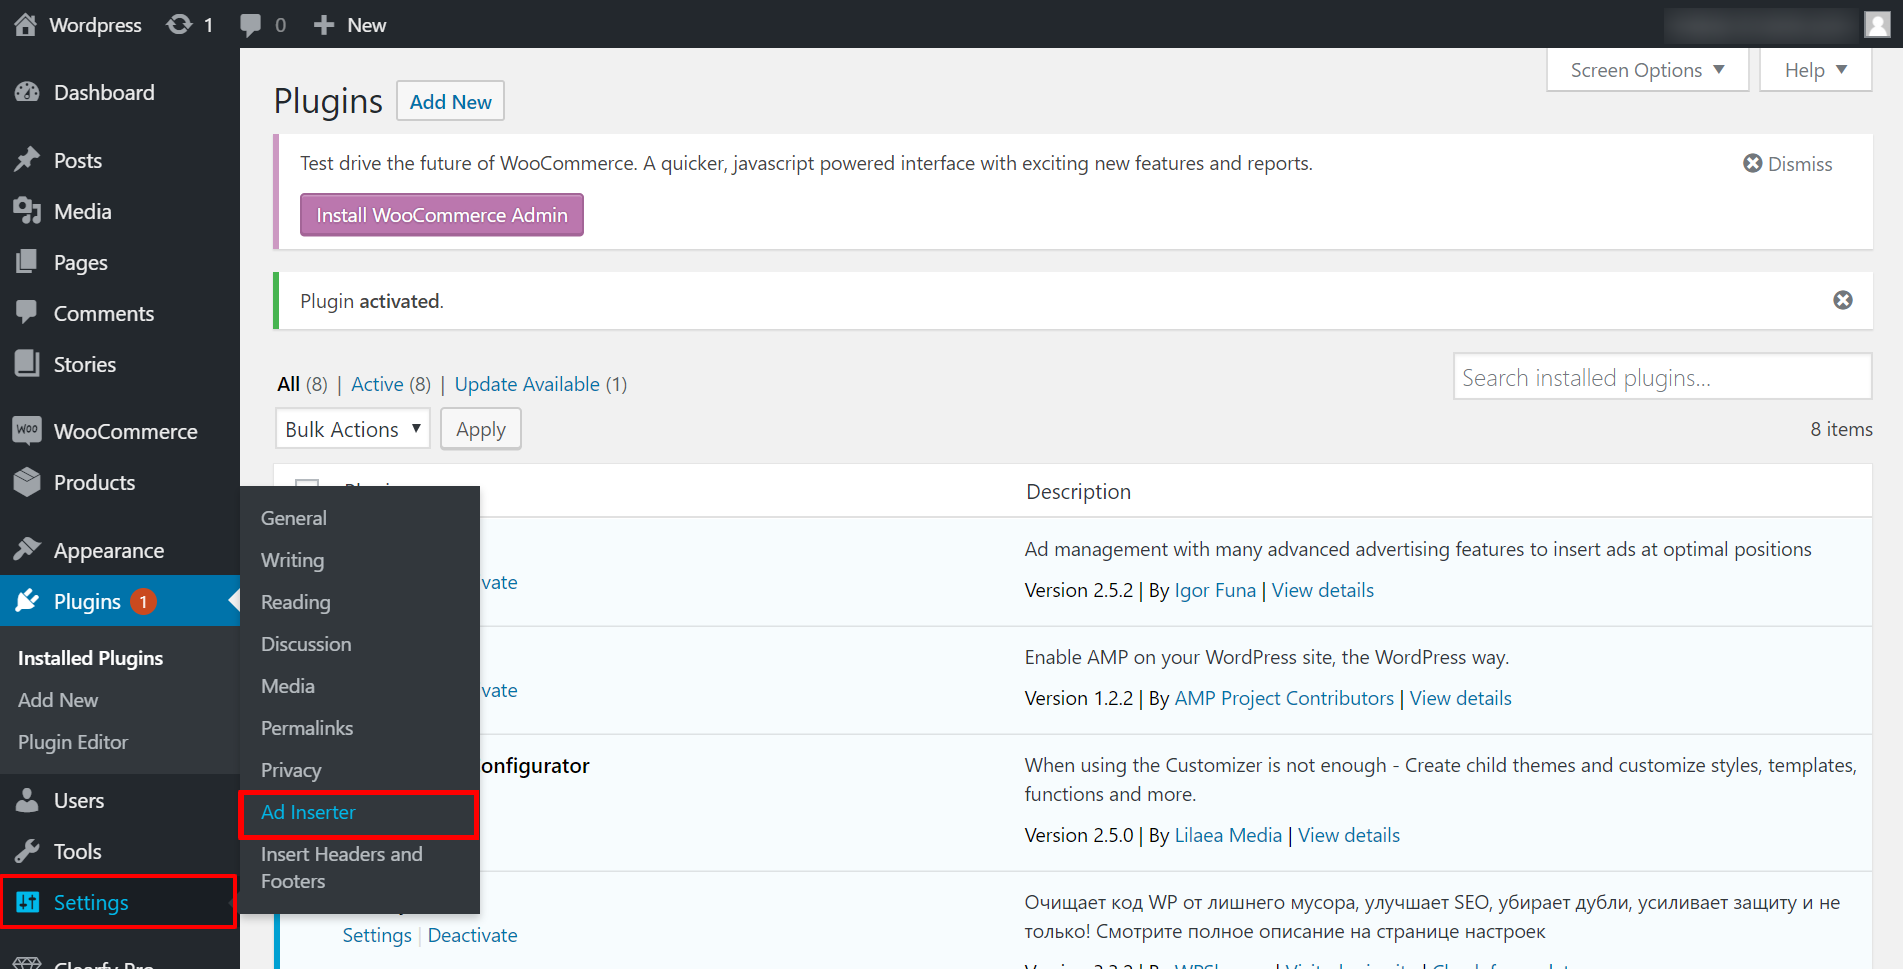
After that, go to Settings — Ad Inserter.
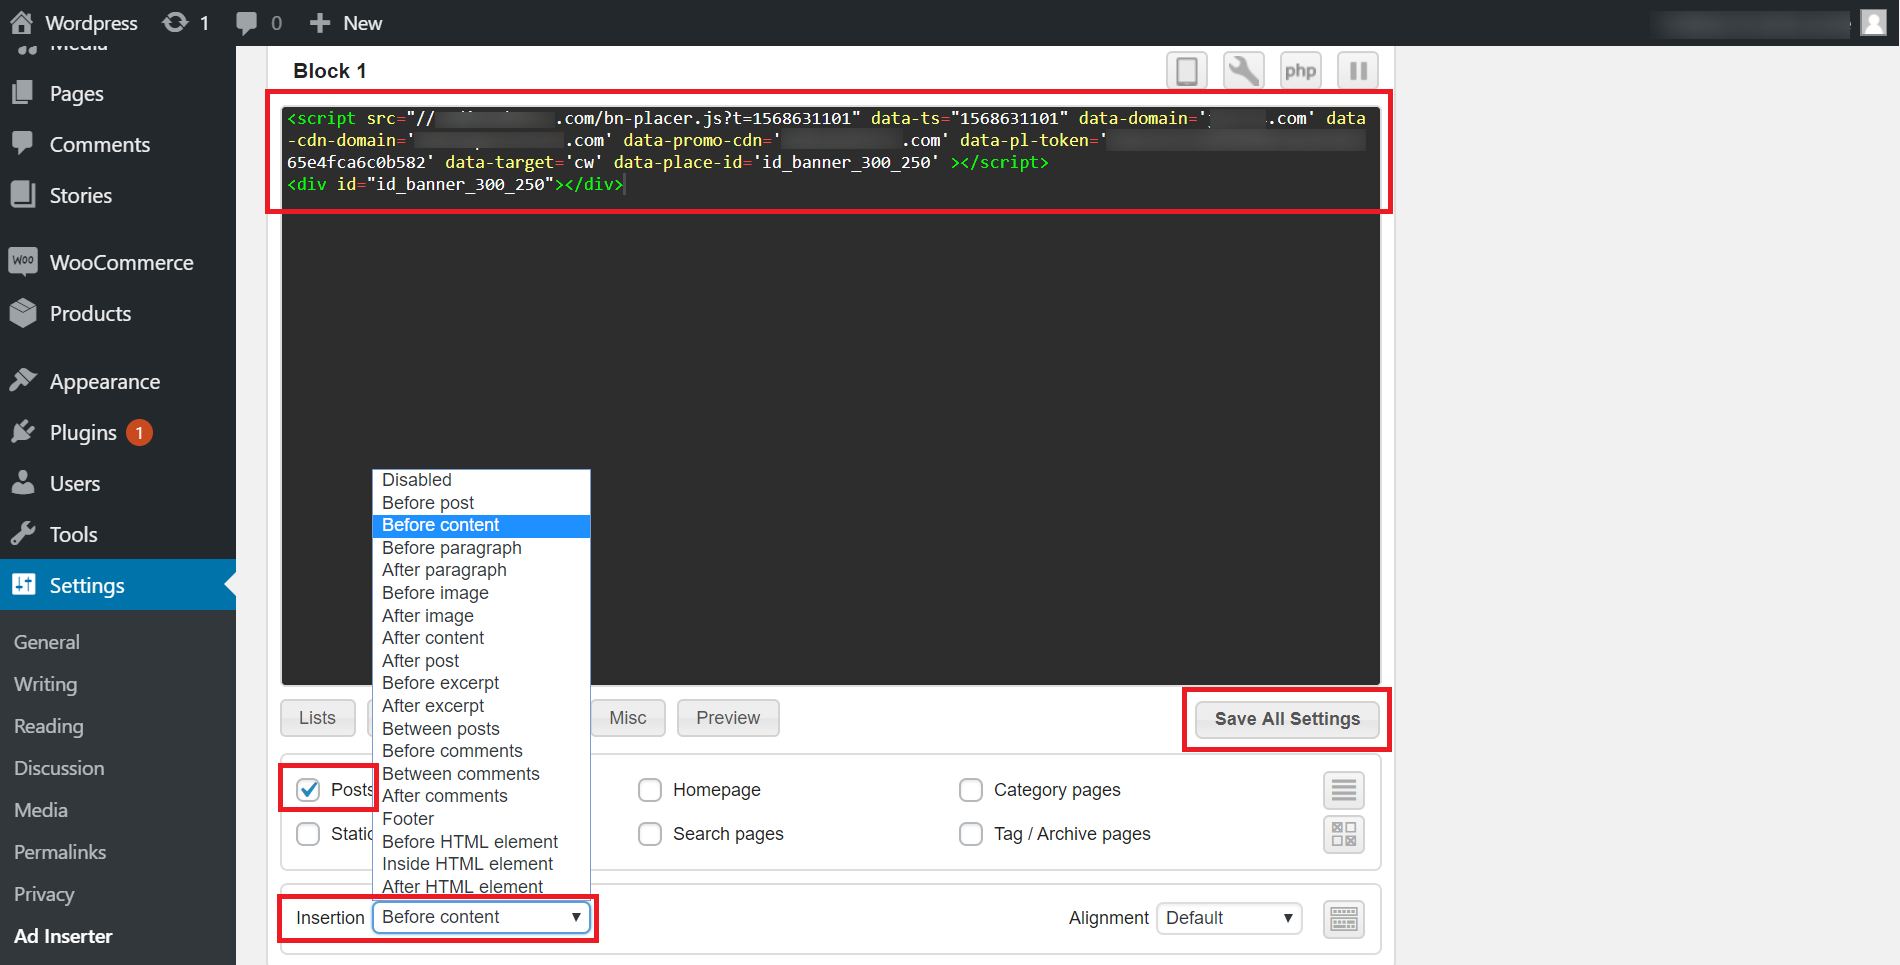
In Block 1, insert a link of script and a <div> tag that contains the banner ID:
<div id="id_banner_300_250"></div>We will place banner ads after the title of the main body of content. To do this, check the box next to the “Posts” item, and in the “Insertion” drop-down list, select the “Before content” item. You can leave the rest of the settings as default. Click Save All Settings.
The banner will appear on the website page and will be displayed after the post title.